


Find your groove with these six programming and mixing techniques for writing better drums
In the world of electronic music, drums are widely regarded as one of the most fundamental components of a great record. Without properly selected, programmed, and mixed drums, there is a limit to how good a track can be.
Groove is just one component of drum programming, but it can seriously make or break the overall feel and vibe of a track. With that in mind, we’ve compiled some top tips for getting more groove out of your drums.
If you want to follow along with this article, check out the huge range of high-quality and royalty free sample packs on the Sample Market store. In our audio example, we’re using a combination of one-shot samples from Hyper’s Hip House and New Wave Tech sample packs. We’re also using Ableton Live, but you can use any DAW to apply the techniques covered in this article.
1. Adjust Drum Velocities
We’re kicking things off with a simple way to create groovier drums. By default, your DAW will create MIDI notes at a consistent velocity, but this isn’t how humans actually play drums. In the real world, a drummer uses a mix of soft and hard drum hits in order to accentuate a song’s groove.
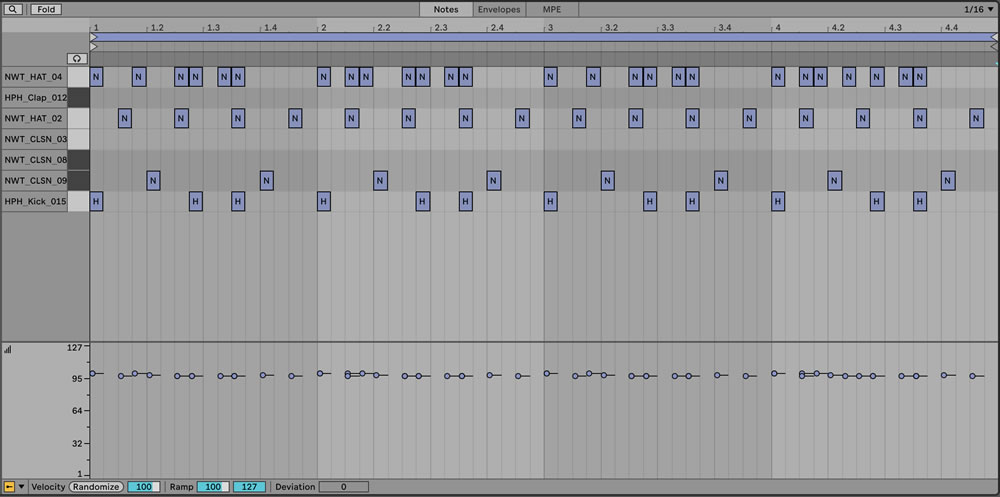
We can emulate this in our DAW by adjusting the velocity of each drum hit. Depending on the drum programming device or plugin you’re using, the velocity should be directly mapped to the drum’s volume, with a lower velocity resulting in a lower volume. If you’re programming your drums in audio rather than MIDI, it’s as simple as adjusting the volume of each sample to achieve the desired effect.
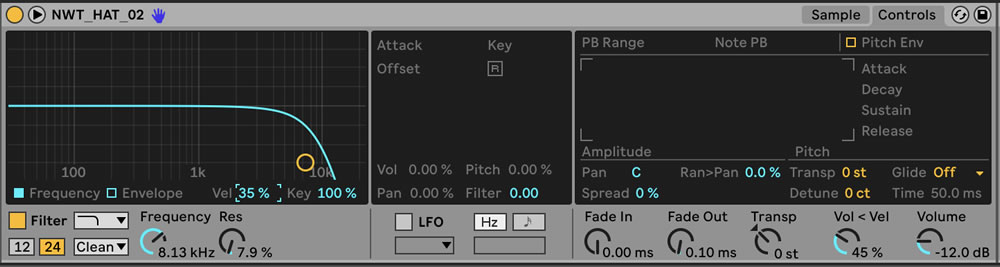
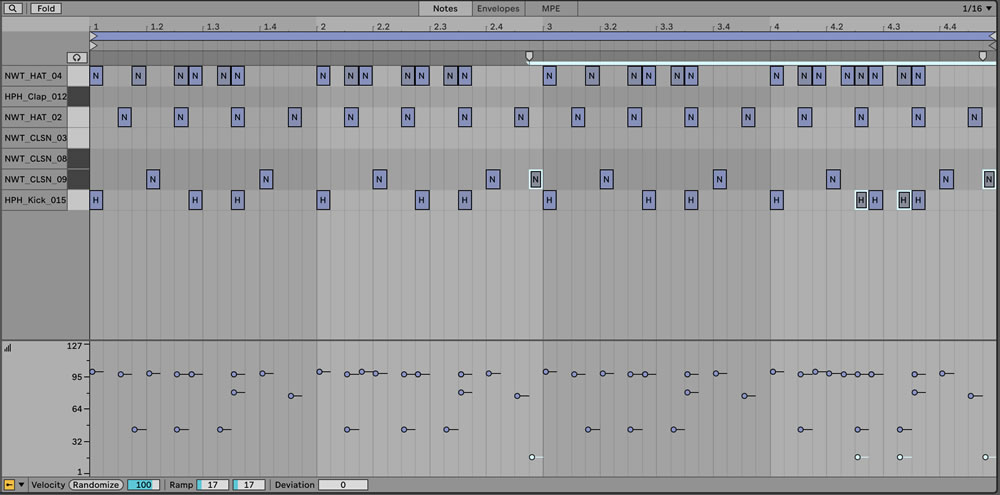
In our case, we’re using Ableton Live’s Drum Rack to reduce the velocity of some of the closed hi-hats. This helps to give our drums a bouncier groove. We’ve also reduced the velocity of the final kick of each bar, as this gives the first kick of the next bar more impact.
You can take this technique a step further by assigning the velocity to other parameters within your drum sequencer, such as filter cutoff, pan or effect amount.
2. Use Ghost Notes
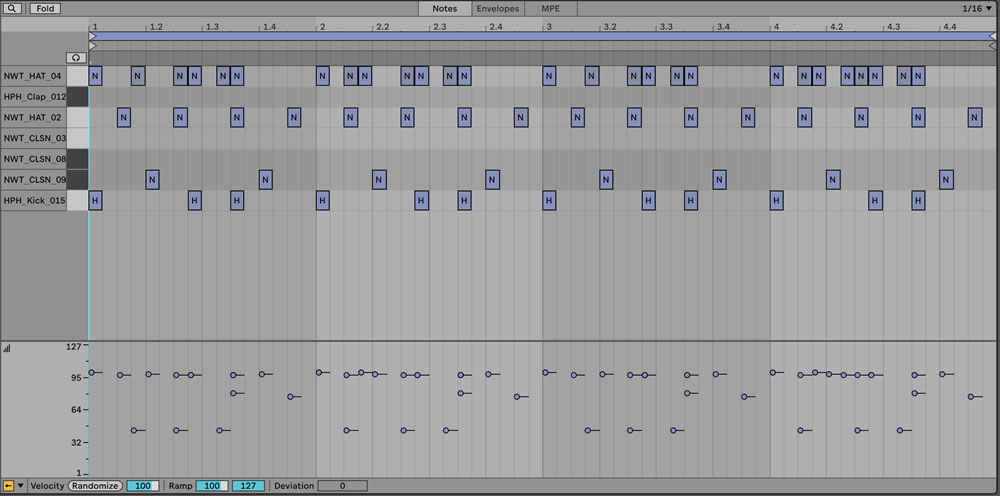
This next technique is really an extension of the last one, and involves adding softer drum hits to get more groove out of your drums. This is achieved using notes with a lower velocity, and can be applied to pretty much any drum part.
This can help to emphasise the groove of your drums, and can also help to signify the end of a phrase or section. As well as adding groove, ghost notes add interest and variation to your drum patterns.
In this example, we’ve added some ghost kick and snare hits to accentuate the drums’ groove and keep things interesting. If your DAW or drum sequencer has probability functionality, try adding twice as many ghost notes with a probability of 50%. This will create a sense of randomness and unpredictability throughout the track that will keep listeners interested.
3. Apply Drum Shuffle
Next up is perhaps the most obvious way to get more groove out of your drums; by using drum shuffle. By default, your DAW’s grid will probably be completely straight, with inputted drums quantized to a defined grid. While that’s useful in some instances, offsetting some of your drums in a controlled way is a tried and tested method of achieving groovier drums. This is known as swing or shuffle.
In straight rhythms, the distance between each 16th note is identical, whereas in shuffled 16th note rhythms, the 2nd and 4th 16th notes are slightly delayed. When you compare the same drum rhythm in a straight configuration versus a shuffled configuration, the additional groove in the shuffle pattern is extremely noticeable.
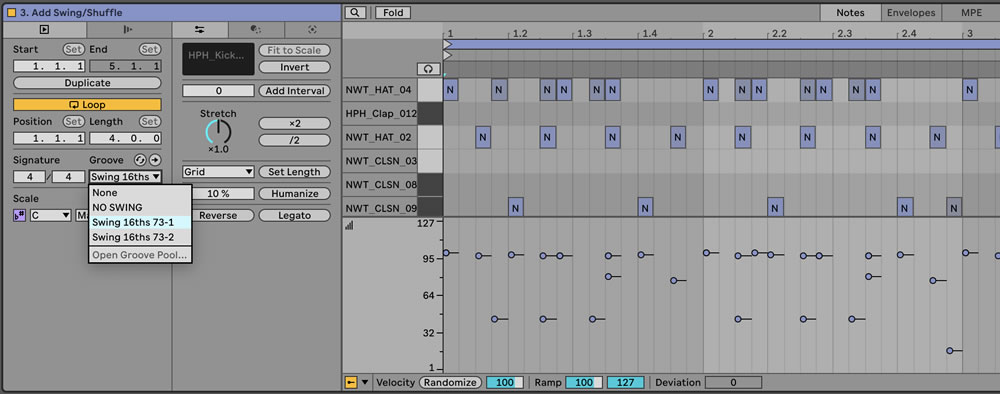
While you can achieve a shuffled drum pattern by manually offsetting the appropriate MIDI notes, this is a time-consuming approach. Instead, most DAWs offer some method of automatically applying shuffle to your MIDI. In Logic Pro, this is achieved using the Swing slider. In Ableton Live, you have access to a Groove Pool, which contains a range of shuffled and swung MIDI quantizations that you can apply to your drum MIDI.
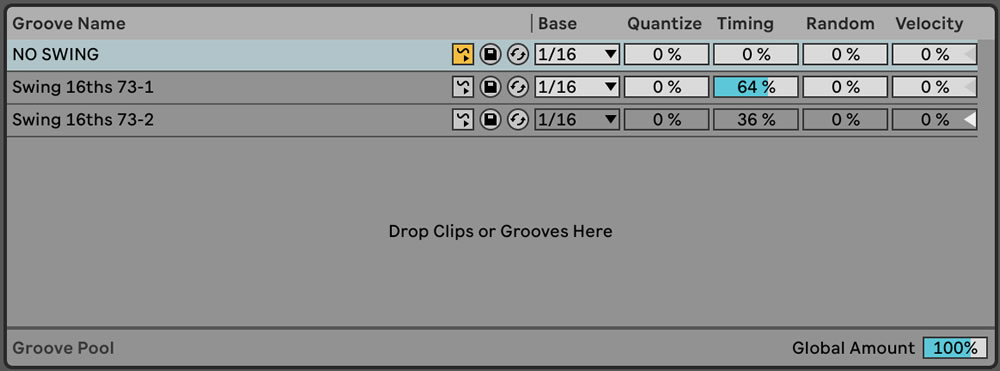
In our example, we’ve applied the 73 16th Note Shuffle Groove to our entire drum MIDI clip. The 73 refers to the total amount of shuffle, but we’ve dialled that back by turning the Timing value down to 64 in the Groove Pool.
One of the strengths of Ableton Live’s Groove Pool is that it can apply velocity variations as well as timing variations. As explained earlier in this article, these are fundamental components of groovy drums.
4. Play Drums in Manually
Another way of shuffling your drums and giving them more groove is by playing your drums in manually. To do this, you will need either a MIDI controller with drum pads or a MIDI keyboard. If you’re a particularly accurate finger drummer, you may be able to make do with your laptop’s keyboard, but this won’t give you any velocity information so we’d strongly recommend using a dedicated piece of MIDI hardware for this.
The benefit of playing drums in manually is that your drums will sound much more human. If you hit a drum slightly late, you’ll automatically compensate with the next hits to bring the drums back in line. This kind of natural pushing and pulling in the timing creates a human feel that can’t be replicated by computers.
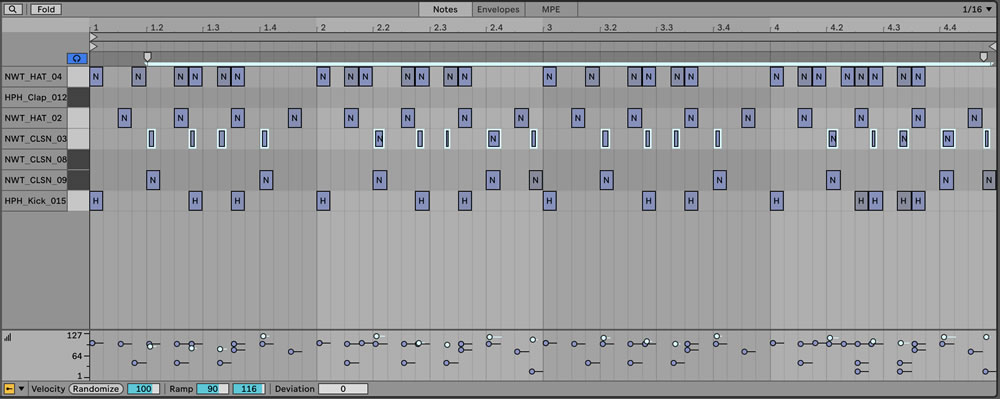
In our example, we’ve added this shuffled percussion sound using a MIDI keyboard. As you can hear, the contrast between the original quantized drums and our imperfectly timed percussion helps to create a sense of groove that might not be possible with completely quantized drums. Playing our drums in like this also gives the hits some natural velocity variation.
If you aren’t an experienced finger drummer, no problem. You don’t need to play all of your drums in one go. Try playing in a couple of parts at a time, for example, your kick and clap, followed by your hi-hats, then your percussion. Even playing in a single drum element manually can really help to give your overall drum sound a more groovy and humanistic feel.
5. Use Sidechain Compression
Getting groovier drums isn’t all about the programming, though. There are some creative mixing techniques that can help you to get more groove out of your drums too. One such technique is sidechain compression, which is commonly used on a kick and bass in order to create some separation between the two low-frequency elements.
But did you know that sidechain compression is a useful strategy when it comes to creating more groovy drums? As explained earlier on in the article, using velocity to control the volume of our drums can help to add groove. Sidechain compression is another great way to control the volume of your drums, particularly as it creates a dynamic relationship between different drum parts.
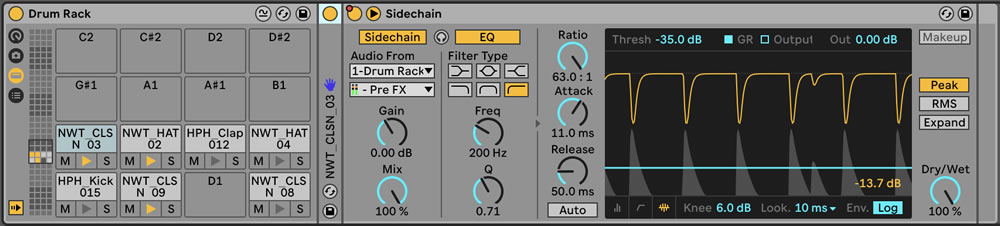
In our example, we’ve sidechain compressed the percussion from the clap, and the open hi-hat from the kick drum. The result is not only a cleaner mix where the kick and clap become more prominent, but a greater sense of cohesion and groove between the elements.
6. Add a Top Loop
Programming your own drums from scratch can be a time-consuming process, but hopefully the techniques explained above will help you to achieve a better result more quickly. If programming drums from scratch isn’t working for you or you just want to add another layer of groove to your drums, you can find a variety of top loops in our professional, track-ready sample packs. For example, the Hyper New Wave Tech pack contains 120 tempo-labeled drum loops as well as plenty of melodic loops and drum one shots.

In our example, we’ve added the SG_126_Shotz_Hats hi-hat loop from Hyper’s Speed Garage pack. This complements the groove of our programmed drums nicely, and helps to build the energy throughout the duration of the track.
All of the samples used in this article are available on the Sample Market store, along with a whole range of professional-grade sample packs for a range of musical styles and genres.
