


Learn how to create energy, tension, and excitement with these eight unique fill generation techniques.

Whether you're designing and programming your own drums, or using premade drum loops from sample packs, it's important to be able to use those sounds in a way that enhances the energy and progression of your arrangement.
One way to manage these elements is by using fills. In this article, we'll explain what fills are, what they're used for, and how to create your own unique fills using samples. We'll be using Ableton Live to demonstrate these fill techniques, but you can apply the same techniques and concepts in any DAW you like.
What are Fills in Music?
Within the context of music production, fills are short sequences of sound, usually played at the end of a section to signify a progression in the arrangement. Fills are often played rhythmically with drums or percussion, but can be played on any instrument. Typically, fills are constructed using sounds that already exist within the composition, as this creates a sense of cohesion and familiarity.
8 Ways to Create Unique Fills Using Samples
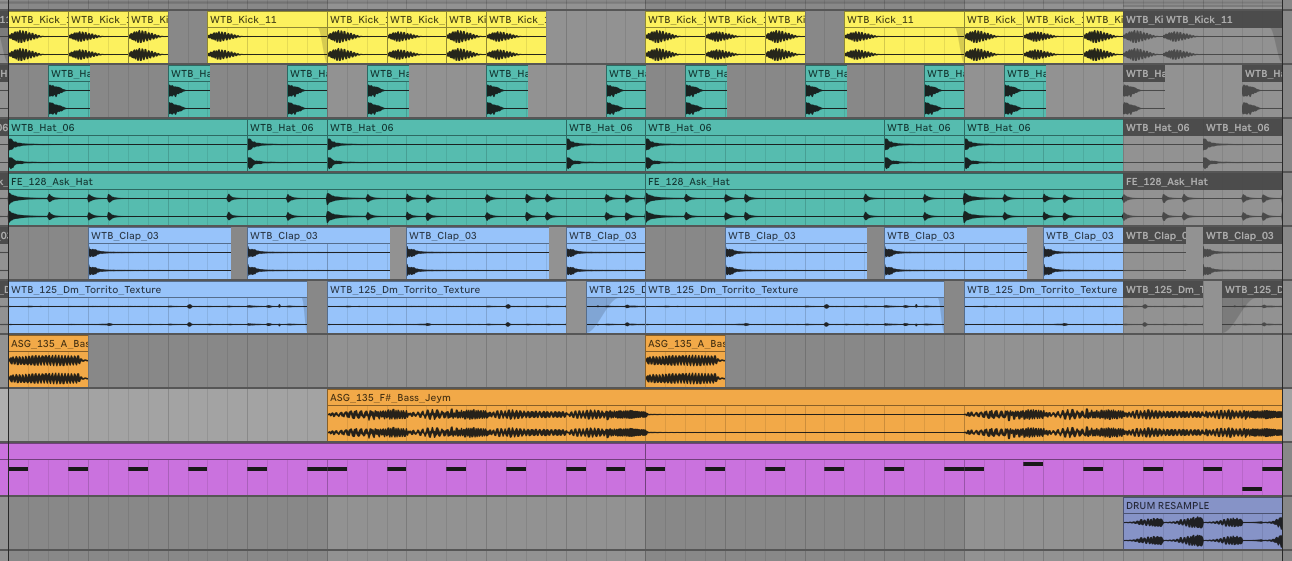
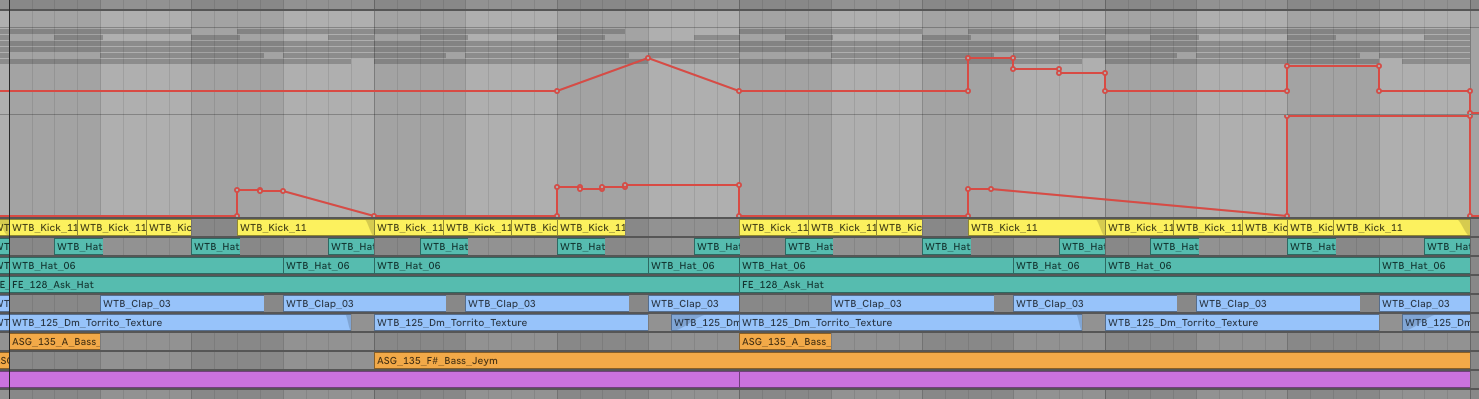
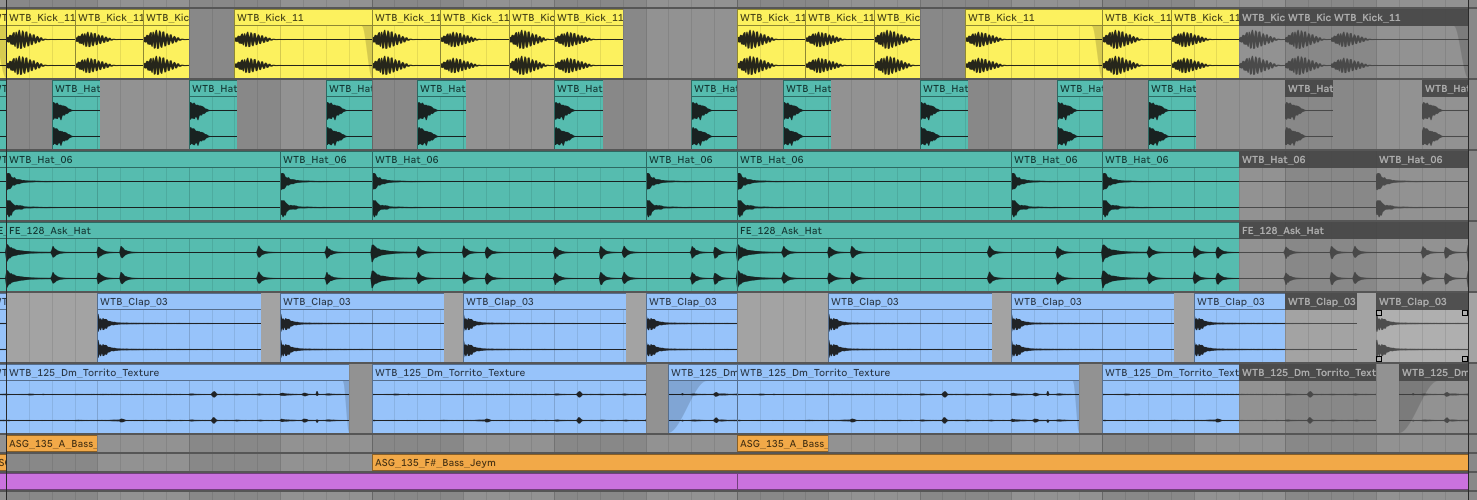
We've got a basic four-bar idea here, and we're going to add some progression and variation using eight different fill ideas.
1. Solo and Add Variation
We'll kick things off with a simple but effective way of creating a fill. Our current loop contains drums, bass, and a chopped vocal sample. We can solo an individual element during the last part of a section to create tension and impact. In this case, we'll apply this technique by soloing the vocal chop.
As we're working with mostly audio, we can simply deactivate the audio clips we want to mute, thus soloing the vocal chop. Within the vocal chop's MIDI clip, we've then switched the triplet arrangement for a straight four-on-the-floor pattern. This creates a sense of variation and grounds the listener, ready for the next phrase to begin.
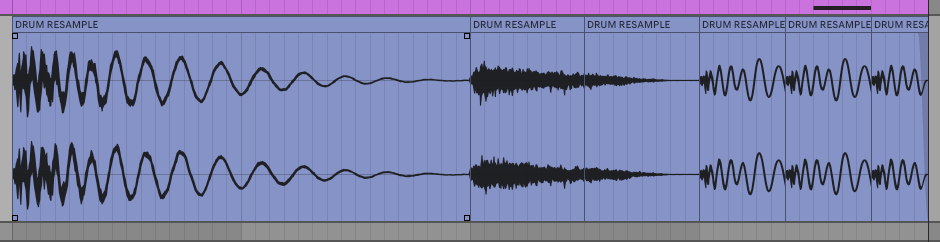
2. Resample then Reverse
Using resampled audio opens up plenty of creative opportunities for music producers, and creating unique fills is one of them. Start by resampling a short segment, perhaps one or two bars, of your drum mix onto a new audio channel.
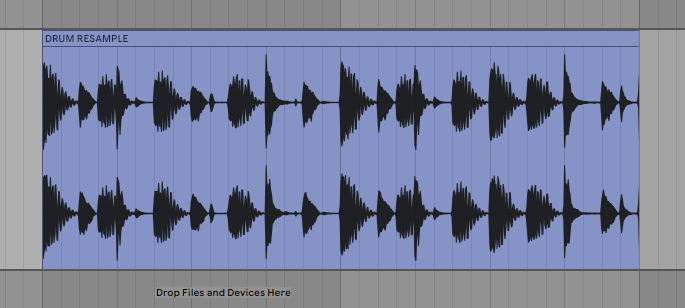
You can now reverse a short piece of your resampled drums and place it at the end of a section. We'll want to combine this technique with the previous one by muting the rest of the drums so that only the reversed drums are audible. Try transposing the reversed drums for even more variation. In our example, we've pitched the audio clip up by seven semitones.
3. Resample then Reprogram
Now that we've resampled our drum mix into a new audio clip, there are plenty of other ways to create fills with it. For example, we can load the audio into a sampler and program our own fills manually.
Start by loading your resampled audio into a sampler with an auto-slice mode. In this case, we're using Ableton Live's Simpler device. We can then use MIDI to program our own fills, adding interest with trills and velocity variation.
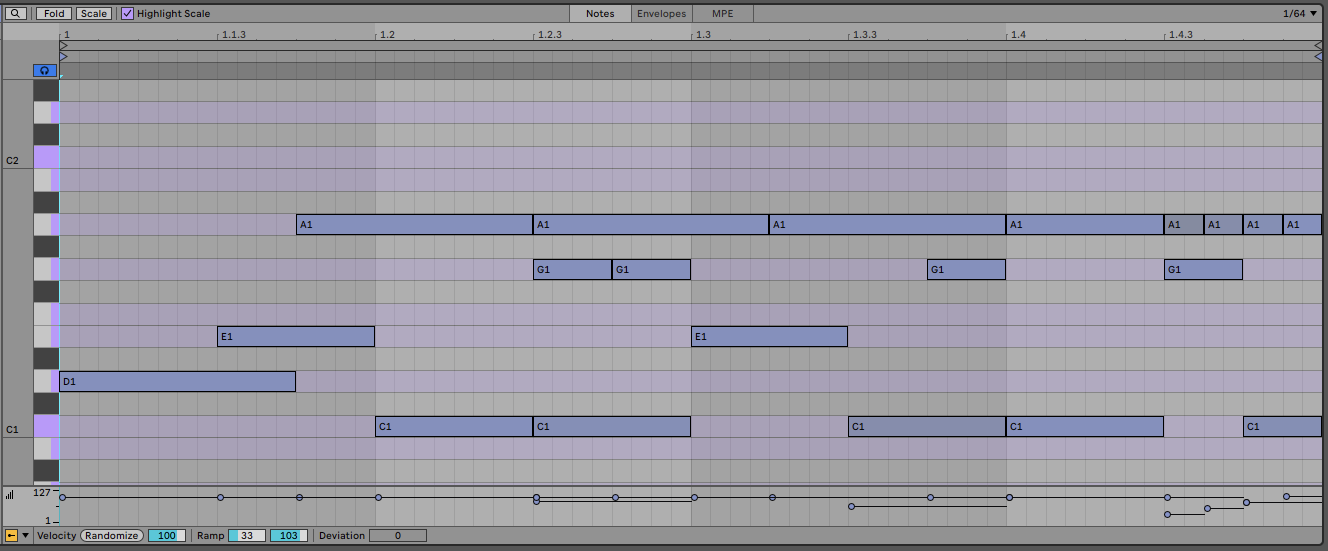
While it's possible to manually arrange fills with individual audio samples, applying this technique with MIDI gives us greater control and flexibility over the course of the arrangement. For example, you could copy your MIDI fill to multiple places and change some of the MIDI notes in each instance to add variation.
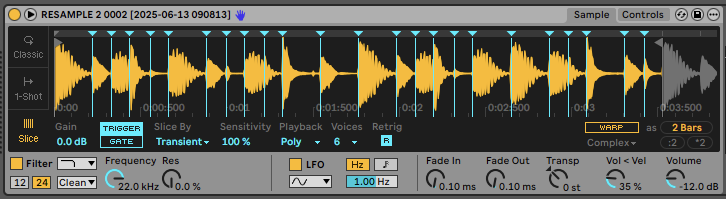
4. Resample then Stretch
Yet another way to use resampled audio to create fills is to stretch out an individual segment of it to create new rhythmic textures. This is particularly common in the Speed Garage scene, with drums, breaks, vocals, and synths commonly being stretched out to create a kind of stuttering effect.
We can recreate this with our resampled drum mix by stretching and transposing it. In Ableton Live, simply select the audio sample and enable Warp mode. Then return to arrangement view, hold shift, and click and drag the edge of the clip to the desired length. In this case, we've stretched the kick and clap to four times their original length, and then transposed the pitch down by an octave.
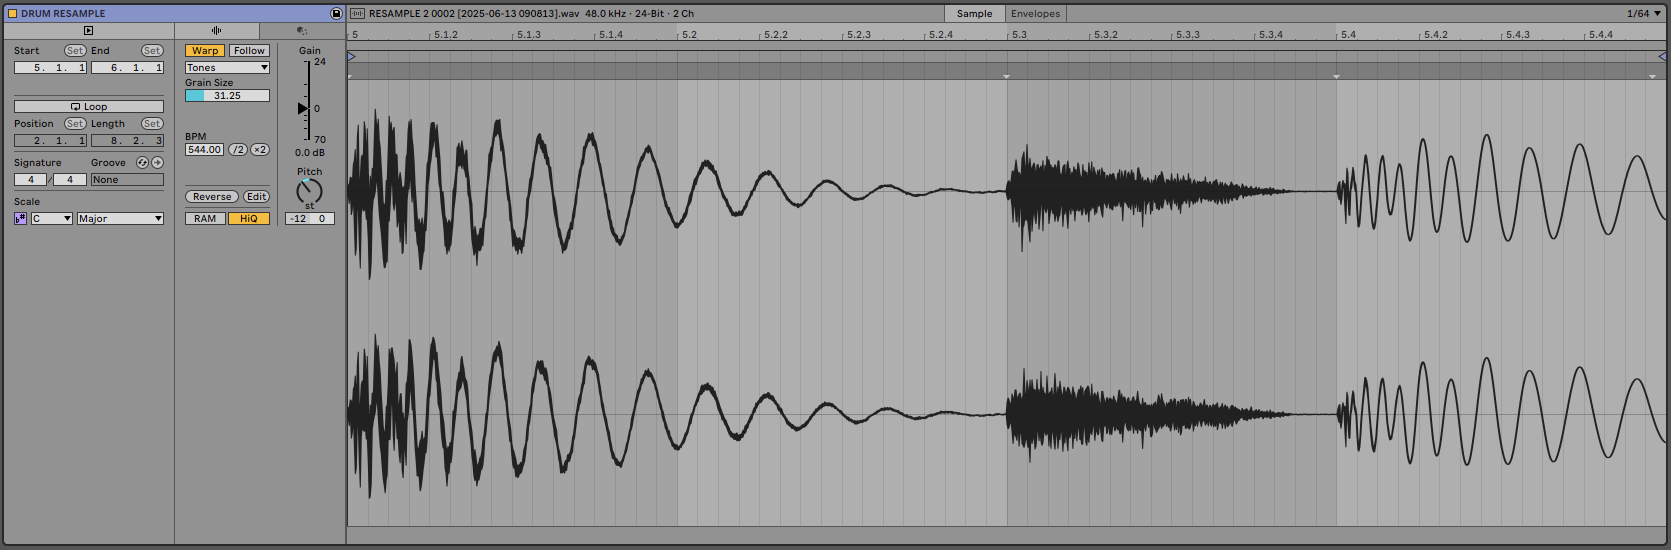
This introduces some unique audio artefacts that would generally be undesirable, but in the context of this technique, are exactly what we're looking for. Try experimenting with the various Warping modes and parameters within Ableton's clip editor to find a sound you like. You can also apply different warp settings to different parts of your audio clip.
5. Try Placing Fills Elsewhere
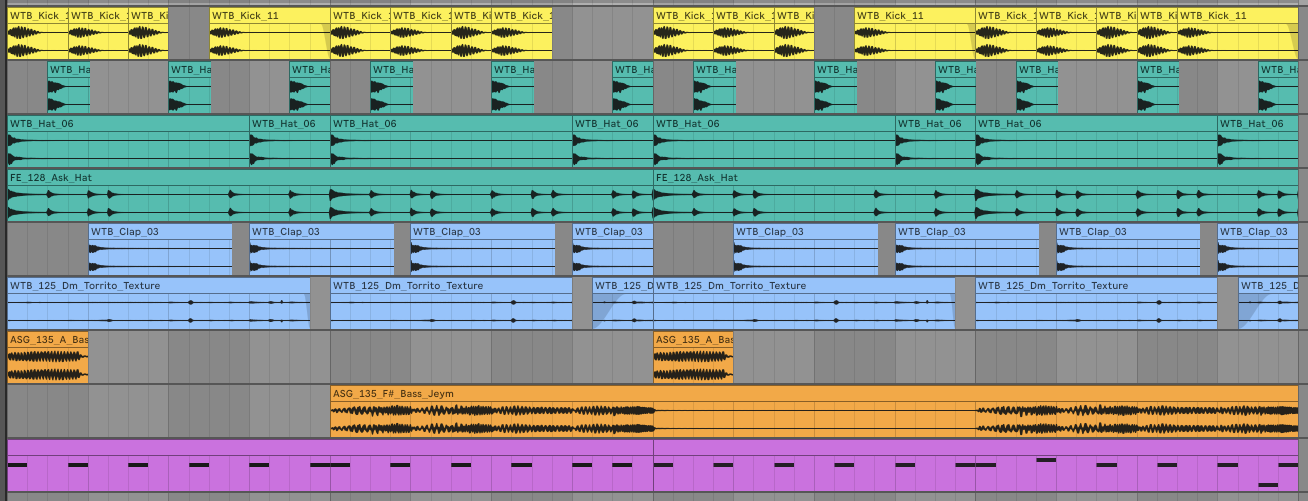
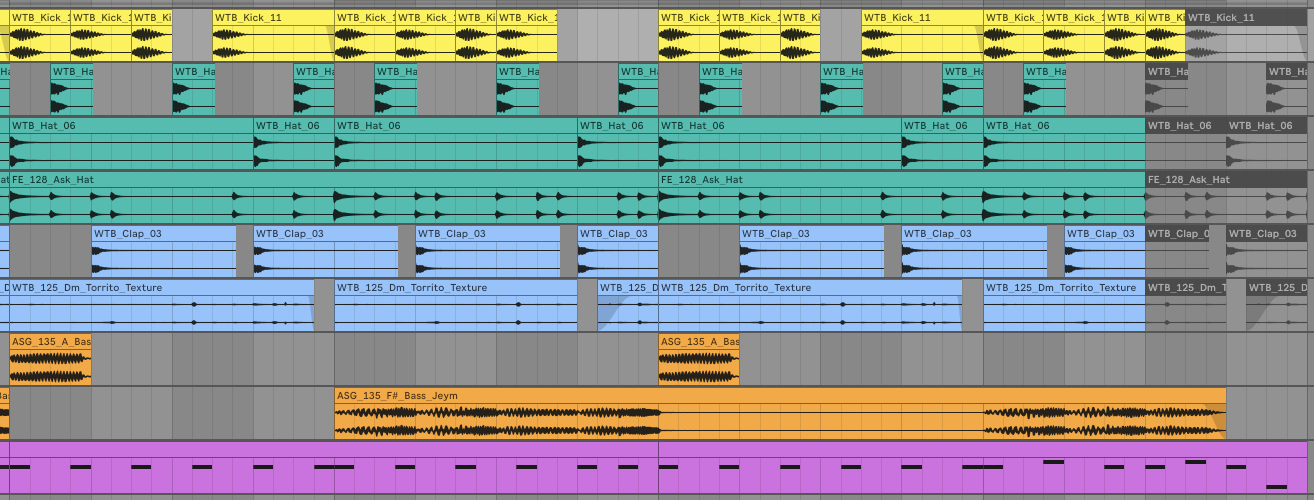
Contrary to what we said at the beginning of this article, fills can actually be placed anywhere within your arrangement, and not just at the end of sections. Adding a fill halfway through a section is a great way to instill an element of surprise into your track and keep things interesting.
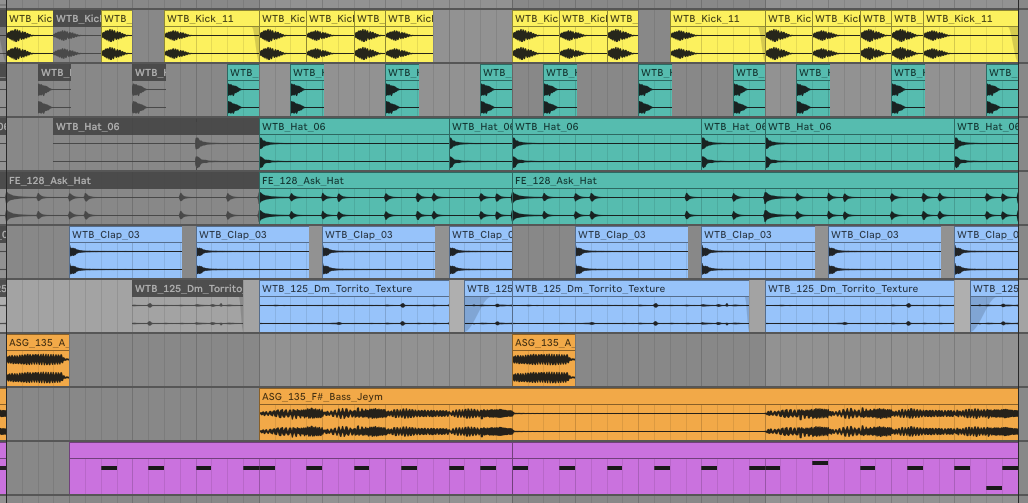
Similarly, you can add fills at the start of sections too, as this can add tension and energy to your tracks. Here, we've come back to the soloing approach from the first technique of this article, and used it to emphasise the bass at the start of a section. You can see from the screenshot above that we've muted several elements during the first bar of the new section, then reintroduced them for bar two.
6. Add Tonality to Drums
Many styles of electronic music consist mainly of atonal elements, such as drums, percussion, and noisy textures. The track we're working on today is an example of that, with only the bass and vocal chop having any real tonal or melodic content. We can use this to our advantage by occasionally introducing some tonal qualities to the composition, which adds variation and helps to define the key of the song.
While we could find a tonal sample that matches the key of our project, it might be tricky to get that element to gel with the rest of our track. Instead, finding some tonality in our existing track elements will help to achieve a more cohesive overall sound. There are many ways to do this, but we'll be using Ableton Live's Spectral Resonator device.
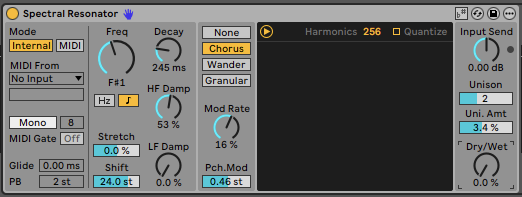
Simply place the device on your drum group, set the Frequency Mode to MIDI, then the Frequency control to your project's root note. In this case, that's F#. The device will now add a resonant tone that remains in the key of your project and follows the rhythm of your drums. Experiment with the other settings within Spectral Resonator to find a sonic characteristic you like.
Finally, automate the device's built-in Dry/Wet control to introduce the effect at various points during your arrangement. Briefly adding some bursts of tonality can really tie your production together and keep the listener engaged. You can even automate other parameters for extra variation. Here, we've increased the resonator Decay amount to create tonal 'throws' that ring out for longer in some parts.
7. Use Time-Based Effects
Another way to create fills that are sonically cohesive with the rest of your track is to use time-based effects such as delays and reverbs. Because these make use of sounds that already exist within your track, they can be a quick and easy way to create fills.
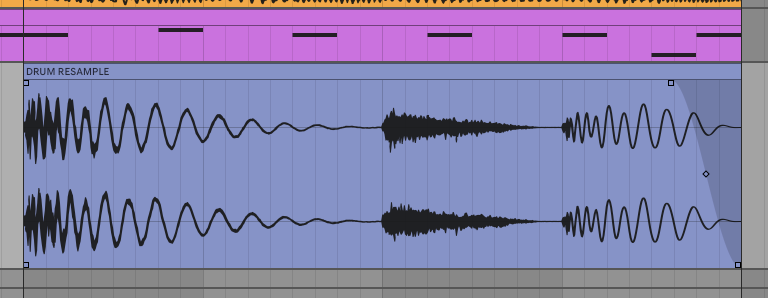
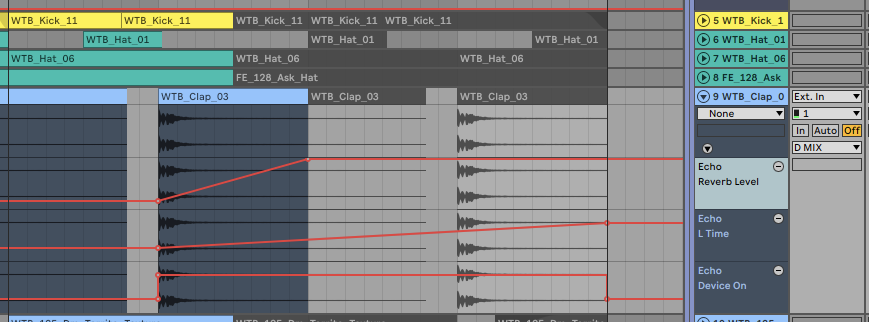
We're going to add some effects to the last clap of a four-bar phrase, then automate some of the parameters within those effects to find a unique sound. Start by muting all the other drum sounds after the final clap, as we did in the first technique of this article.
We're going to use Ableton Live's Echo device as it contains both a delay and reverb effect, but there are plenty of other time-based effects out there that will each achieve a different result. Place Echo on the element you want to effect, then automate the device on from when the clap sounds until the end of the section.
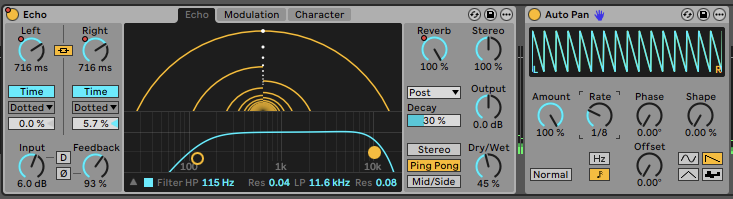
We've set the delay to ms instead of synced mode, and turned the delay time right down to about 20ms. We've also increased the Feedback to around 90% to give us a long delay tail, and increased the Reverb amount to add space. This gives us a kind of spacy swelling sound that extends the clap's tail.
While this sounds cool, it does stick out a bit from the rhythm and groove of the rest of our track. To combat this, we can apply some volume shaping to tie it back into our drum pattern. We've added an instance of Auto Pan after the Echo device, increasing the Amount to 100%, setting the Rate to 1/8, the Phase to 0°, and the shape to Ramp Down. This gives us a rhythmic trance gate style of effect that maintains the rhythm of the track into the next section.
8. Use Premade Fill Samples
Finally, if you're in a hurry or just looking for an off-the-shelf solution for adding fills to your track, there are plenty of premade fills available online that can be downloaded and added straight into your productions. You can even take a premade fill sample and make it your own by applying any combination of the techniques demonstrated above. Head to the Sample Market store to browse a huge range of high-quality and tempo-labelled sample packs for a range of electronic music styles.
