


Samples are a great source of inspiration, and they provide an efficient way to quickly get an idea down in your DAW. But with samples so readily available, it can be difficult to find a unique sonic aesthetic. In this article, we cover some production and sound design tricks that let you add your own personal flair to any sample.
If you’re looking for some new royalty-free samples to provide some inspiration, check out Sample Market’s huge catalogue of professional samples for all corners of dance music.
A brief history of sampling
Sampling in music has been around in one form or another since the 1940s. Initially in the form of musique concrète, whereby Pierre Schaeffer recorded various sounds to tape before sequencing them to create experimental collages of noise.
It wasn’t until the 70s that sampling took on a more similar format to how we know the practice today. The Fairlight CMI is widely believed to be the first piece of sampling equipment, and allowed the user to record short sounds then play them back along a keyboard.
Using samples today
Today, there are huge libraries and marketplaces of high-quality, royalty-free samples available to producers. There are even free sample packs out there, making music production more accessible than ever.
In some ways, the availability of professional samples makes it harder to stand out as a producer. But with some creative sound design techniques, you can transform samples into your own bespoke sounds and effects that make you stand out from the crowd.
Sample processing techniques
Let’s take a look at some ways in which you can put your own creative spin on a sample. We’ll be using Ableton Live, but the concepts covered in this article are applicable to whichever DAW you use.
1. Bring out additional harmonics with saturation
This first example works particularly well on samples with plenty of low-frequency information, such as kicks and basses. Let’s take this bass loop from Abstract’s Dusty 2 Step sample pack. The 128_Cm_London_Bass sample is mostly sub-bass, so it’ll probably hold up well on a club sound system, but not so well on laptop speakers or headphones.
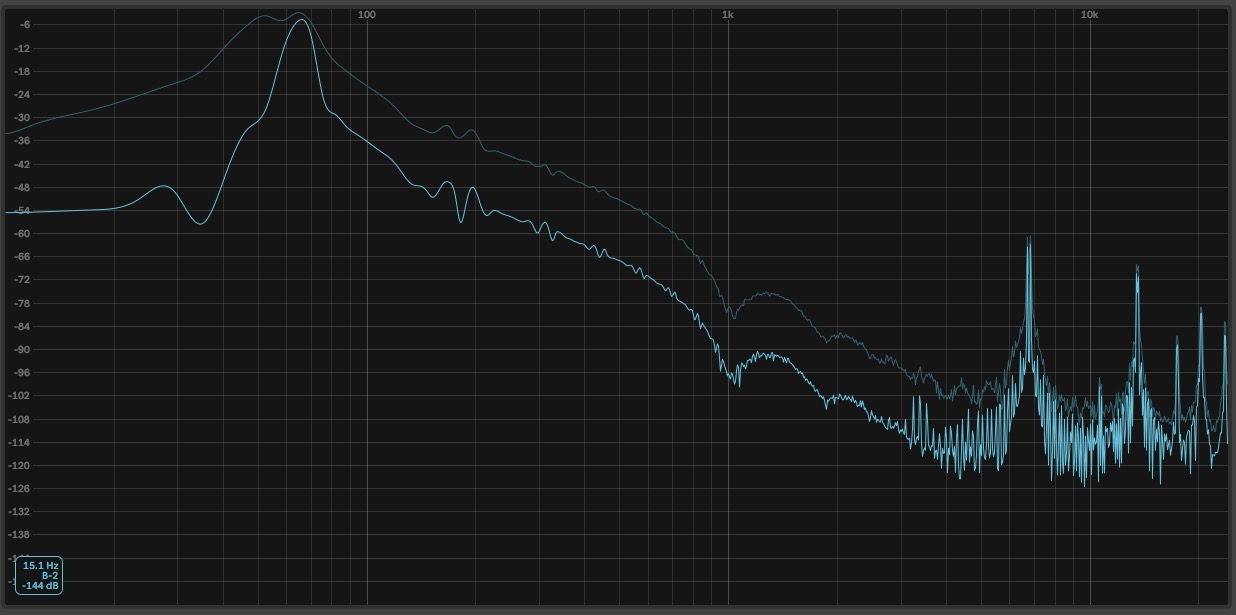
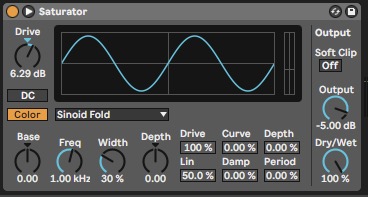
One way to improve a sub-bass’ presence on small speakers is to introduce some upper harmonics with saturation. There are many types of saturation plugin, each with their own distinct sound and flavour. We’ve used Ableton’s inbuilt Saturator device to add around 6dB of Drive with the Sinoid Fold Curve Type.
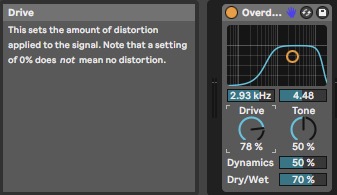
2. Destroy samples with distortion
The first tip in this article explained how and why you might apply subtle processing to a sample, but we’re going a step further here. While distortion can be used gently, that’s not the goal here. We want to completely transform a sample by distorting it beyond recognition.
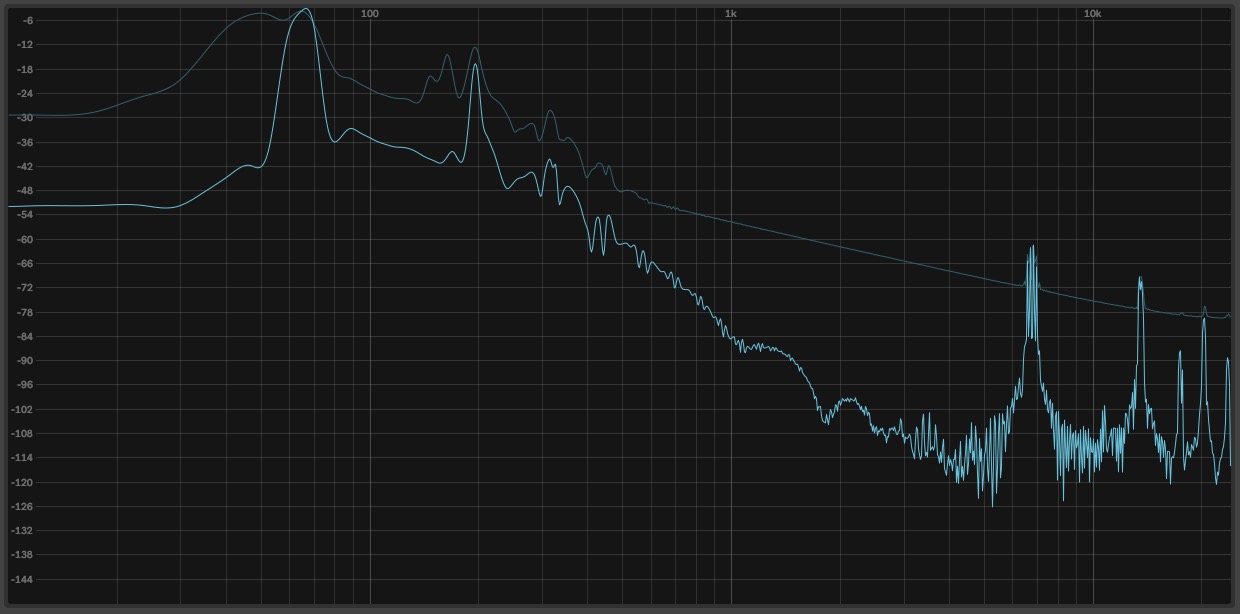
The WN_125_Percussion_Loop_10 sample from Weissman’s Modular Percussion Loops sample pack sounds great straight away, but it doesn’t contain much in the way of high-frequency information. This makes it more suitable for a background rhythmic layer in our composition.
If we want to make the loop a key element of our production, we can bring out some of its higher frequencies, and even create more high-frequency content by applying some extreme distortion.
3. Layer samples to create new timbres
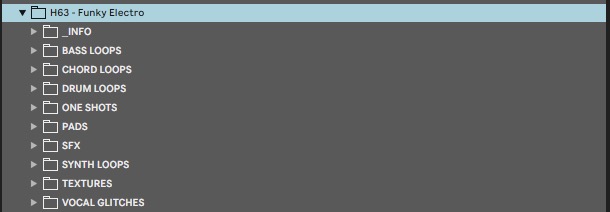
Next up, let’s add some grit and character to a relatively clean sample to give it a fresh new feel. The FE_C_Synth_02 sample from the Hyper Funky Electro sample pack is an M1 Organ-style synth one-shot.
Find another sample with a unique texture, ideally an atonal sample so that it doesn’t interfere with the original sample key. In this case, we’re using the FE_128_Texture_12 sample from the same sample pack.
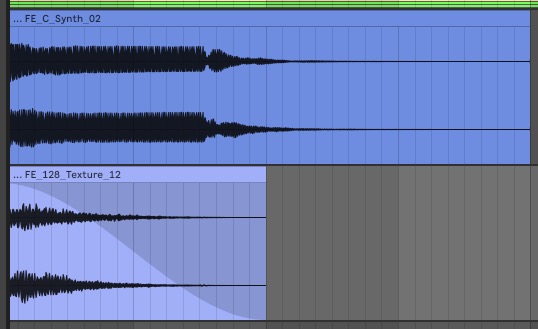
We’ve placed the second sample on a new channel, stretched it out, adjusted its length and fade to work with the amplitude contour of the original sample, and turned it down by approximately 15dB. This adds an extra layer of texture to the original sample.
You can now resample both layers to create a new sample, then load it into a sampler device and sequence it within your DAW. The extra layer will be transposed with the original sample as you play it back, giving the sample a cohesive feel.
4. Make it glitchy with delay
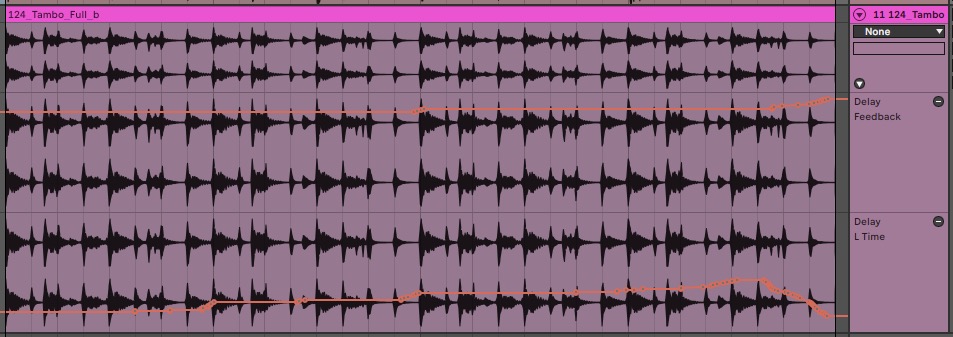
The 124_Tambo_Full_b loop from Abstract’s Organic Rhythms sample pack is a great foundation for creating a unique glitchy pattern suitable for a range of genres.
Start by placing a delay plugin on the channel, and placing the delay in Time mode, also known as free or unsynced.
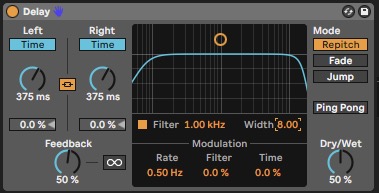
Now increase the Feedback amount to 70%-90%, then reduce the Time amount until the delay makes a glitchy stuttering effect. You can automate these two parameters to add movement and variation to the effect. If you have a mappable MIDI controller, you can even record movement into your DAW to achieve a more organic and human feel.
5. Turn samples into custom risers
By combining some elements of the technique above with some reverb, it’s quick and easy to create our own custom riser FX. This works particularly well on short, snappy one-shot samples such as the DJH_Perc_19 sample from Abstract’s Deep Jazzy House pack.
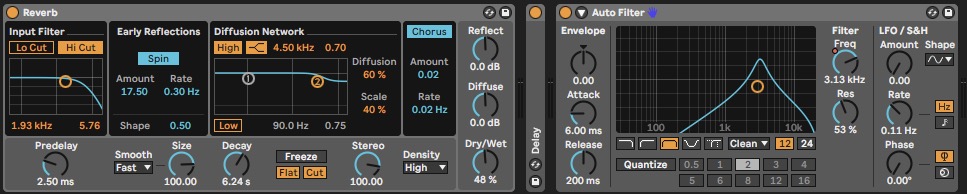
Place a Delay on the channel and increase the feedback to around 90ms. Set the delay to Time mode, then automate the Time to decrease from around 100ms to 10ms over the course of a bar or two. These times are just a rule of thumb, and it’s worth experimenting with different times to see what works for your composition.
As the delay time decreases, the pitch increases, thus creating a rising effect. You can use this effect as it is, or to add some more space, try experimenting with other effects such as reverb and a filter. In this case, we’ve added a reverb before the delay, and a bandpass filter after the delay which has been automated to follow the increase in pitch.
Now you can resample the effect with all the processing added and use it as a riser, or reverse it to use as a downriser.
6. Use a gate to add rhythm and groove to pads
Pads are a core element of many styles of contemporary dance music. We’ve even written an article on how to create lush pads from any sample. But sometimes we want to add some rhythm to a pad sound.
Let’s take this SM_HUX_124_Em_Pad_Loop_001 pad loop from Huxley’s Originals pack.
We love the tone and melody of the pad, but we want it to follow the rhythm of our drum beat, which is from the Abstract Cosmic Electro Pack. To do this, place a gate plugin with a sidechain input on the pad, then select the drum channel as the sidechain input.
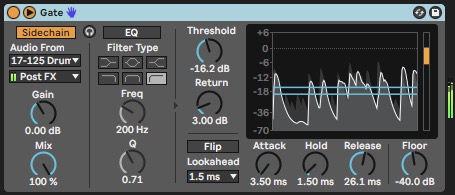
Now reduce the Threshold until the desired drum hits are triggering the gate to open. You can also use the Attack, Hold and Release controls to shape the contour of the gate effect so that it works with the tempo and rhythm of your drum beat.
7. Just go wild
This final tip isn’t as much of a technical tutorial as it is a creative approach. In the world of music production, it’s easy to get bogged down by following “the rules”, but often the best results come from creating freely.
If you’re low on inspiration and you’re looking for something to get the creative juices flowing, this approach can help to get things moving. Mute your monitors or headphones, select a sample at random, and then begin layering on a range of effects, setting the parameters at random too.
Check in on your blind creation from time to time and see if there are any happy accidents worth mining for future projects. We started with the ROM_126_Full_Drum_24 loop from Hyper’s Romanian Minimal pack.
We then added a Phaser, Shifter, Vocoder and Amp device from Ableton’s library of stock effects. We messed with a few of the parameters and ended up with this groovy, glitchy beat.
If we want to go a step further and rearrange our glitchy groove into a new pattern, we can load it into a sampler, slice it up and resequence it as we wish.
The result is a unique, textured drum sequence that sounds nothing like the original sample and could be a solid foundation for starting a new idea for a track.
