Within the overall music production process, there are many sub-processes. From sound design and sample selection to mixing and mastering, a good music producer has to wear many hats to take one project through from conception to completion.
One step of the process that is commonly underestimated, is the arrangement process. A badly arranged song can sap the life and energy out of a track, no matter how good the sound design or mix is. If you want to level up your track arrangement, read on, as we cover 10 top tips for more engaging track arrangements.
1. Use reference tracks to guide you
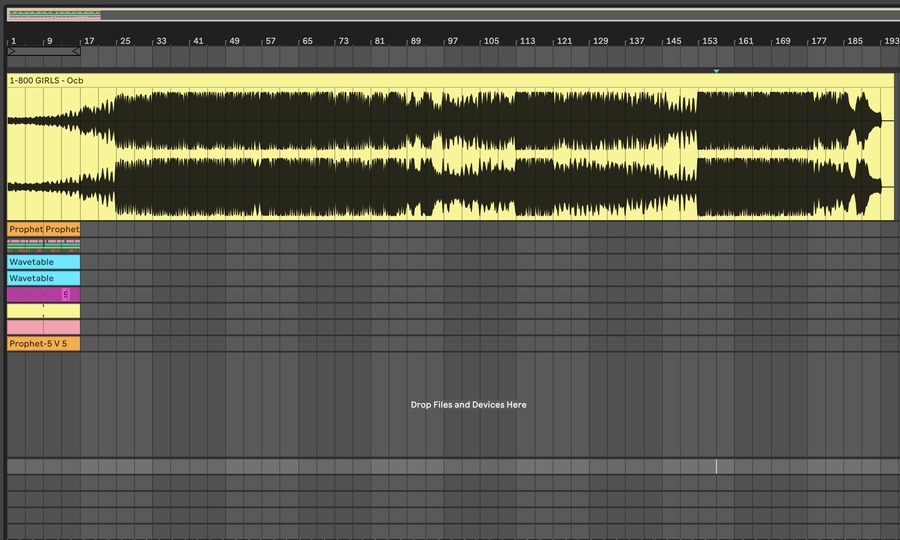
You might be familiar with the concept of using reference tracks while mixing and mastering a song, but what about using reference tracks as a guide for how to structure your next big hit?
Let’s say you’ve got a 16 or 32-bar loop with plenty of potential, but you’re not sure how to expand it out into a fully-fledged track. Find one or two tracks that have a similar style and energy to your work in progress, then drag them into your DAW and sync their BPM to your project tempo.
Using your reference track, you can now see where different elements are introduced, how long each section is and so on, giving you a great rule of thumb for how you could arrange your project. Of course, you don’t have to follow it bar for bar, but it’s an effective way of starting to plan a potential track structure.
2. Use track markers to plan your song arrangement
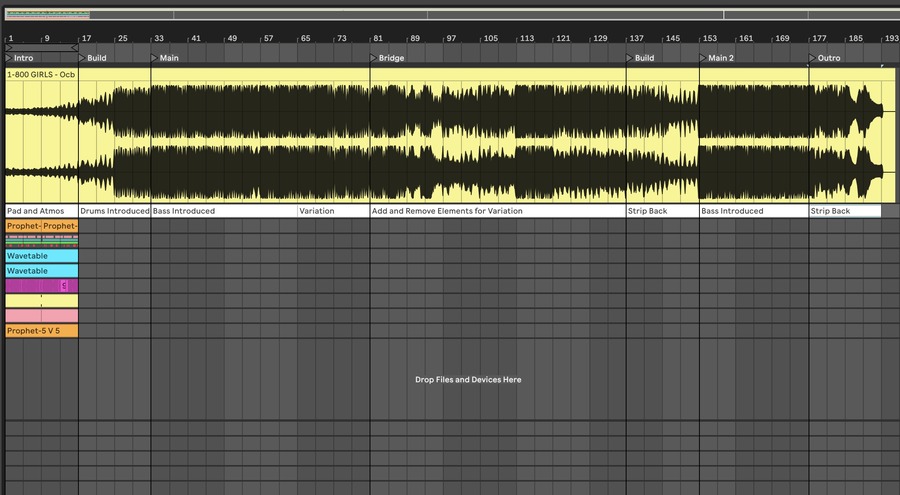
Now you’ve got an idea of how you might like to arrange your track, you can start to map it out using track markers. One way to approach this is by labelling markers according to the section, such as Intro, Build Up, Drop 1, Bridge and Outro. Alternatively, you can label them according to the energy or feeling you want them to have, for example, Tension, High Energy or Reflective.
In addition to track markers, you can create, label and colour-code dummy MIDI clips to give you an overview of how your track will be laid out and which elements should be introduced and when. This is a particularly useful workaround if your DAW of choice doesn’t have a track marker function.
3. Record live automation for a more human touch
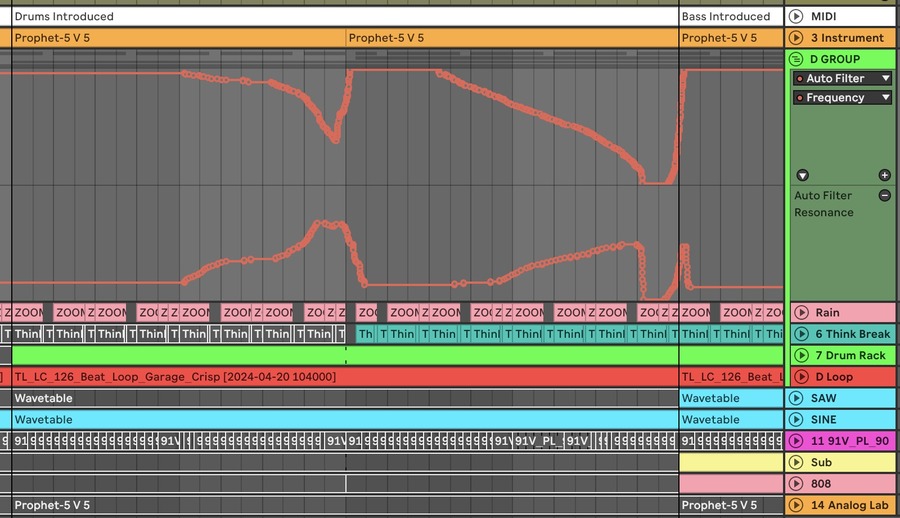
This next technique is one you might already employ during the initial production process, but it’s one that can be just as effective during track arrangement. If you’ve got filters, reverbs and delays set up as insert or return effects, try automating some of the parameters within those effects or track send amounts to give your arrangement a bit more movement and interest.
The benefit of recording the automation live instead of drawing it in is that it gives your productions more of a human feel. Not to mention it’s often more fun to jam out with your MIDI controller than it is to click and drag a few nodes around. If you don’t have a MIDI controller, no stress, a trackpad or mouse is just as good, as long as you’re recording the movement live.
4. Jam it out to find an arrangement that works
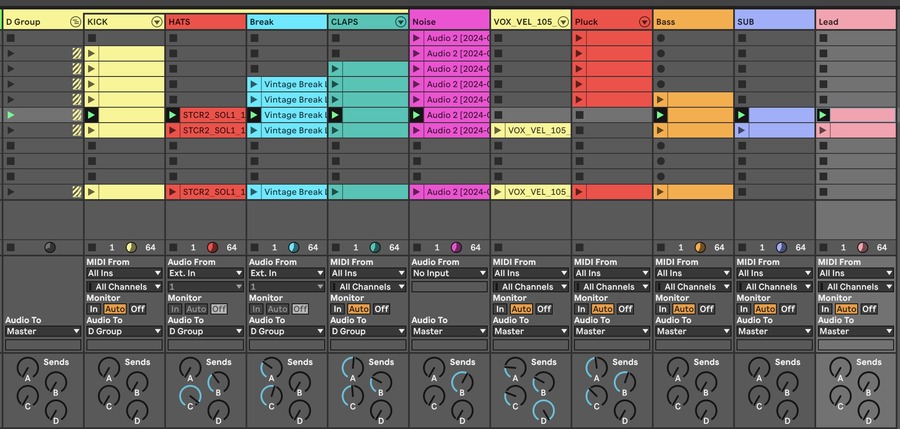
In the same vein as the last tip, it’s good practice to incorporate elements of performance into your production process when you can. Some DAWs like Ableton Live and its Session View are made to jam with clips and sequences, recording them into a live arrangement. Logic Pro even added a strikingly similar clip-launching feature in the last few years.
If you’re working in a different DAW, no stress. Try looping then muting and unmuting parts of your track to see what works together and how the various sections might slot together in a logical order. Once you’ve found the basics of a track arrangement in your jam, you can begin to arrange your various bits of audio and MIDI accordingly.
5. Pretend you’re a DJ and apply master effects
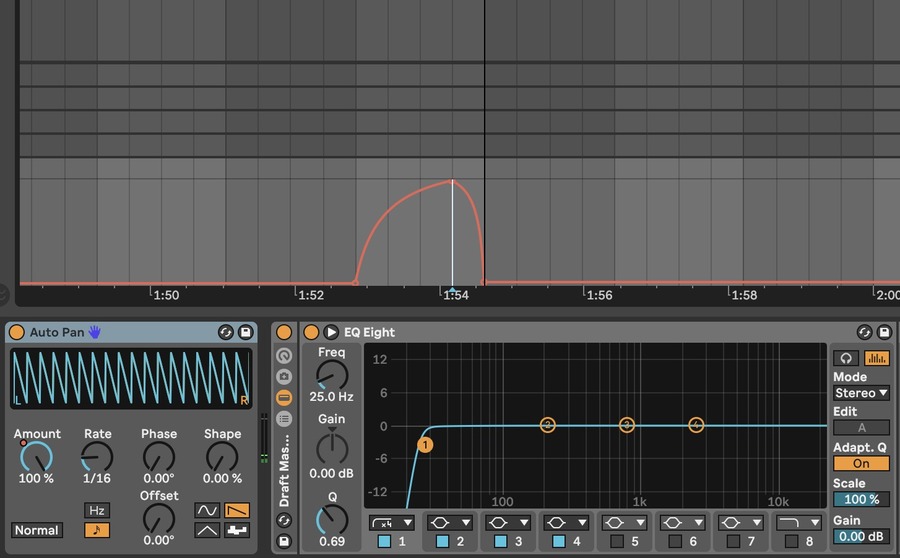
It’s sometimes considered to be a music production no-no to apply creative effects on your project’s master channel, but in this case, it can be a great way to add a sense of excitement and cohesion to your track.
Try placing an effect on your master (before any master processing you might already have on there), and using the technique in step three to record some effect automation to the entire track. You could opt for the DJ's favourite pre-drop high-pass filter, but feel free to get a little more creative if you want to stand out from the crowd and surprise your listeners.
6. Use comping or take lanes for easy variation
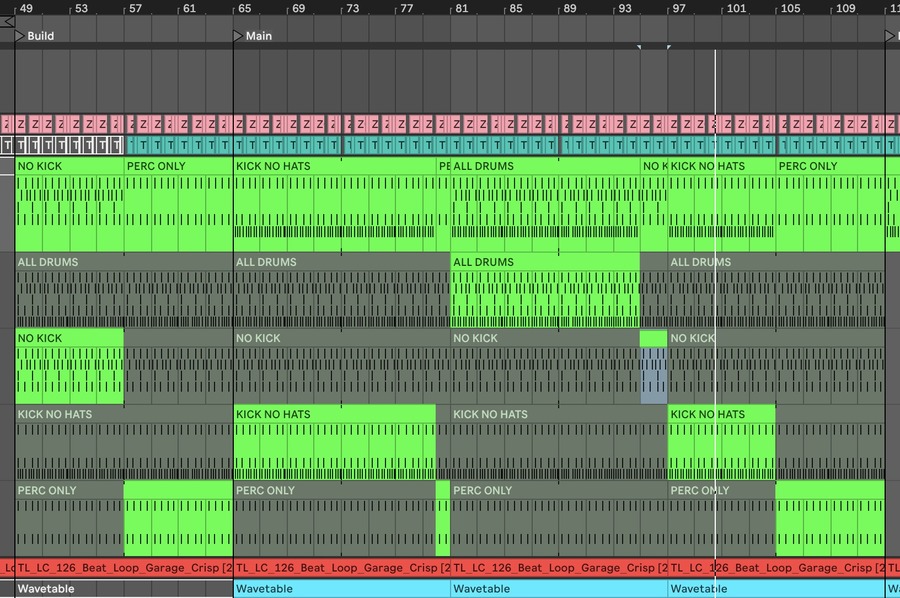
One common issue with badly arranged dance music is that it can become very samey, very quickly. Adding variation is a guaranteed boredom buster for your listeners, but it can be tricky to keep track of the different variations you might have in an audio or MIDI clip.
Your DAW’s comping or take lane functionality is a highly practical solution for storing and selecting the many variations of sequences you might have in your track. Let’s say you have a drum pattern with four variations, place one underneath the other within your take lanes then duplicate across the entire track. You can now quickly select the variation you want to play at any given point. You can even switch the last bar to add fills to your track with ease.
7. Use unsynced modulation to add movement and interest
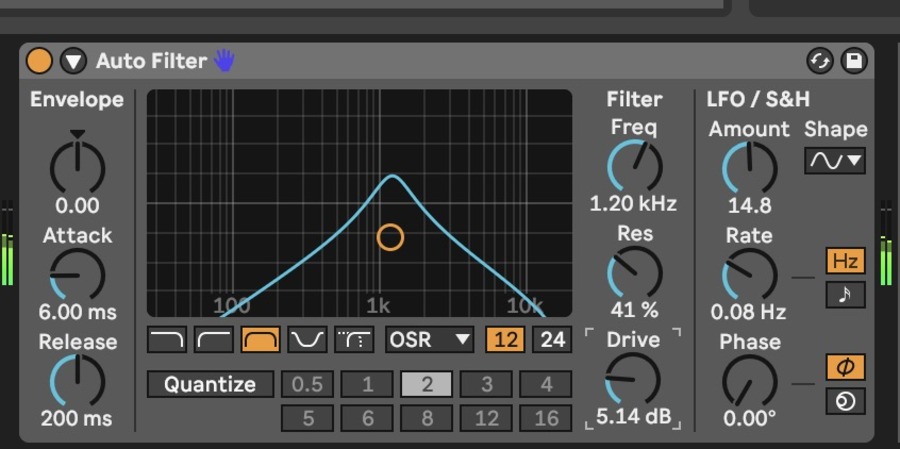
If your arrangement feels a bit static, applying some subtle unsynced modulation can help to create a sense of movement in your track. Try modulating time-based effects such as choruses, phasers or flangers, or apply an LFO to a filter.
Now, even if the elements of your track have been repeating for several bars, the movement created by the modulation will help to give the impression that the track is evolving and morphing as it progresses.
If you want to take this tip up a notch, try modulating the first modulator’s depth or speed with a second modulator. Not only will this add more movement to your arrangement, but it will also add a sense of unpredictability and variation to the track, particularly if you use a random or noise LFO shape.
8. Create contrast with silence
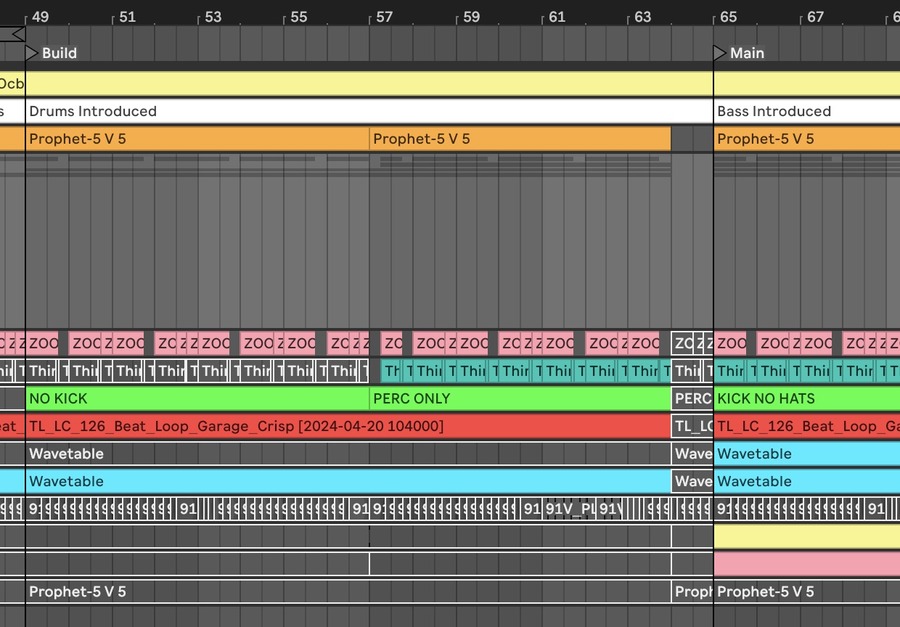
As far as arrangement tricks go, there are very few techniques as simple as this one. While your track’s drop might be the peak moment of the arrangement, adding a short period of silence can help to multiply the energy and impact when the drop comes.
Try using volume automation, filters, spaced-out reverbs or a combination of the above to slowly reduce the energy ahead of your arrangement’s crescendo. This signifies to the audience that something big is about to happen. Equally, suddenly cutting the volume just before the drop can create an element of surprise that works particularly well in a club environment.
9. Use mixing as an arrangement tool
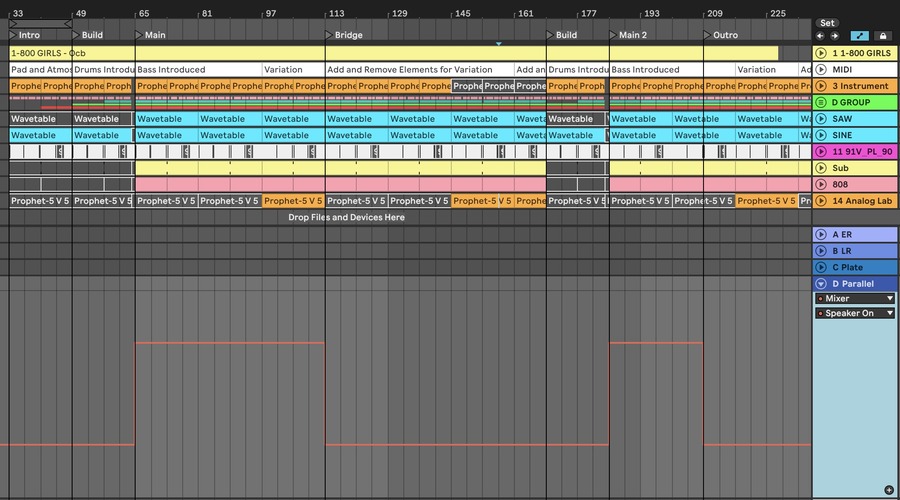
Some of the techniques already discussed above fall into this next tip, but it’s so effective that it’s worth reiterating. On paper, track arrangement and mixing are two separate processes, but they can be used in conjunction with one another to great effect.
For example, try applying parallel processing to your drums during the chorus, or apply more reverb to the lead during build-ups so that it sounds more forward and present during choruses. Not only will this give your drop more impact, but it’ll create more contrast between the various sections of your arrangement which can make it more engaging.
10. Listen close, take notes, tweak

Once you’ve applied the tips above, it’s time to sit back and admire your work. It’s good practice to take a break and then return to your project with fresh ears. When you’re ready, grab a notepad and play your track from start to finish while taking notes on the flow and energy of your track.
Don’t be tempted to stop and tweak things as you go. The goal here is to listen to the whole track in its entirety, as your audience will. You should be able to instinctively identify points at which an element may come in too early, or where you need to add some variation to prevent things from getting stale. Repeat this process (including the break!) until you end up with a song arrangement that you’re happy with and ready to start mixing.


