From cheap DIY acoustics, through speaker positioning and professional frequency-busting solutions, we show you how to make your production space more 'studio' and less 'spare room'…
The chances are that if you are setting up a room for music production, it might not be the ideal space for music making– a spare room, perhaps, or even an out-house in your garden. The actual space might be limited in size and very probably not acoustically treated. But fear not. No matter where you set up to make music, you can make adjustments to the space to help make it more creative and more acoustically sound, and you can do it all on a pretty decent budget. Here's how…
Starting out
Before you do anything, stop! Do you really /need/ a dedicated room for recording? If you are actually recording 'stuff' – real instruments, people and so on – then yes, you probably do. If you are just making music 'in-the-box', then you can easily get away with a good desktop or laptop computer, a decent set of near-field speakers or headphones, and that is it. Perch yourself on a desk, make sure your speakers are set correctly – see later – and you're good to go. No expensive outlay, no (or not too many) concerns about acoustics, and you're pretty mobile in terms of where you can be.
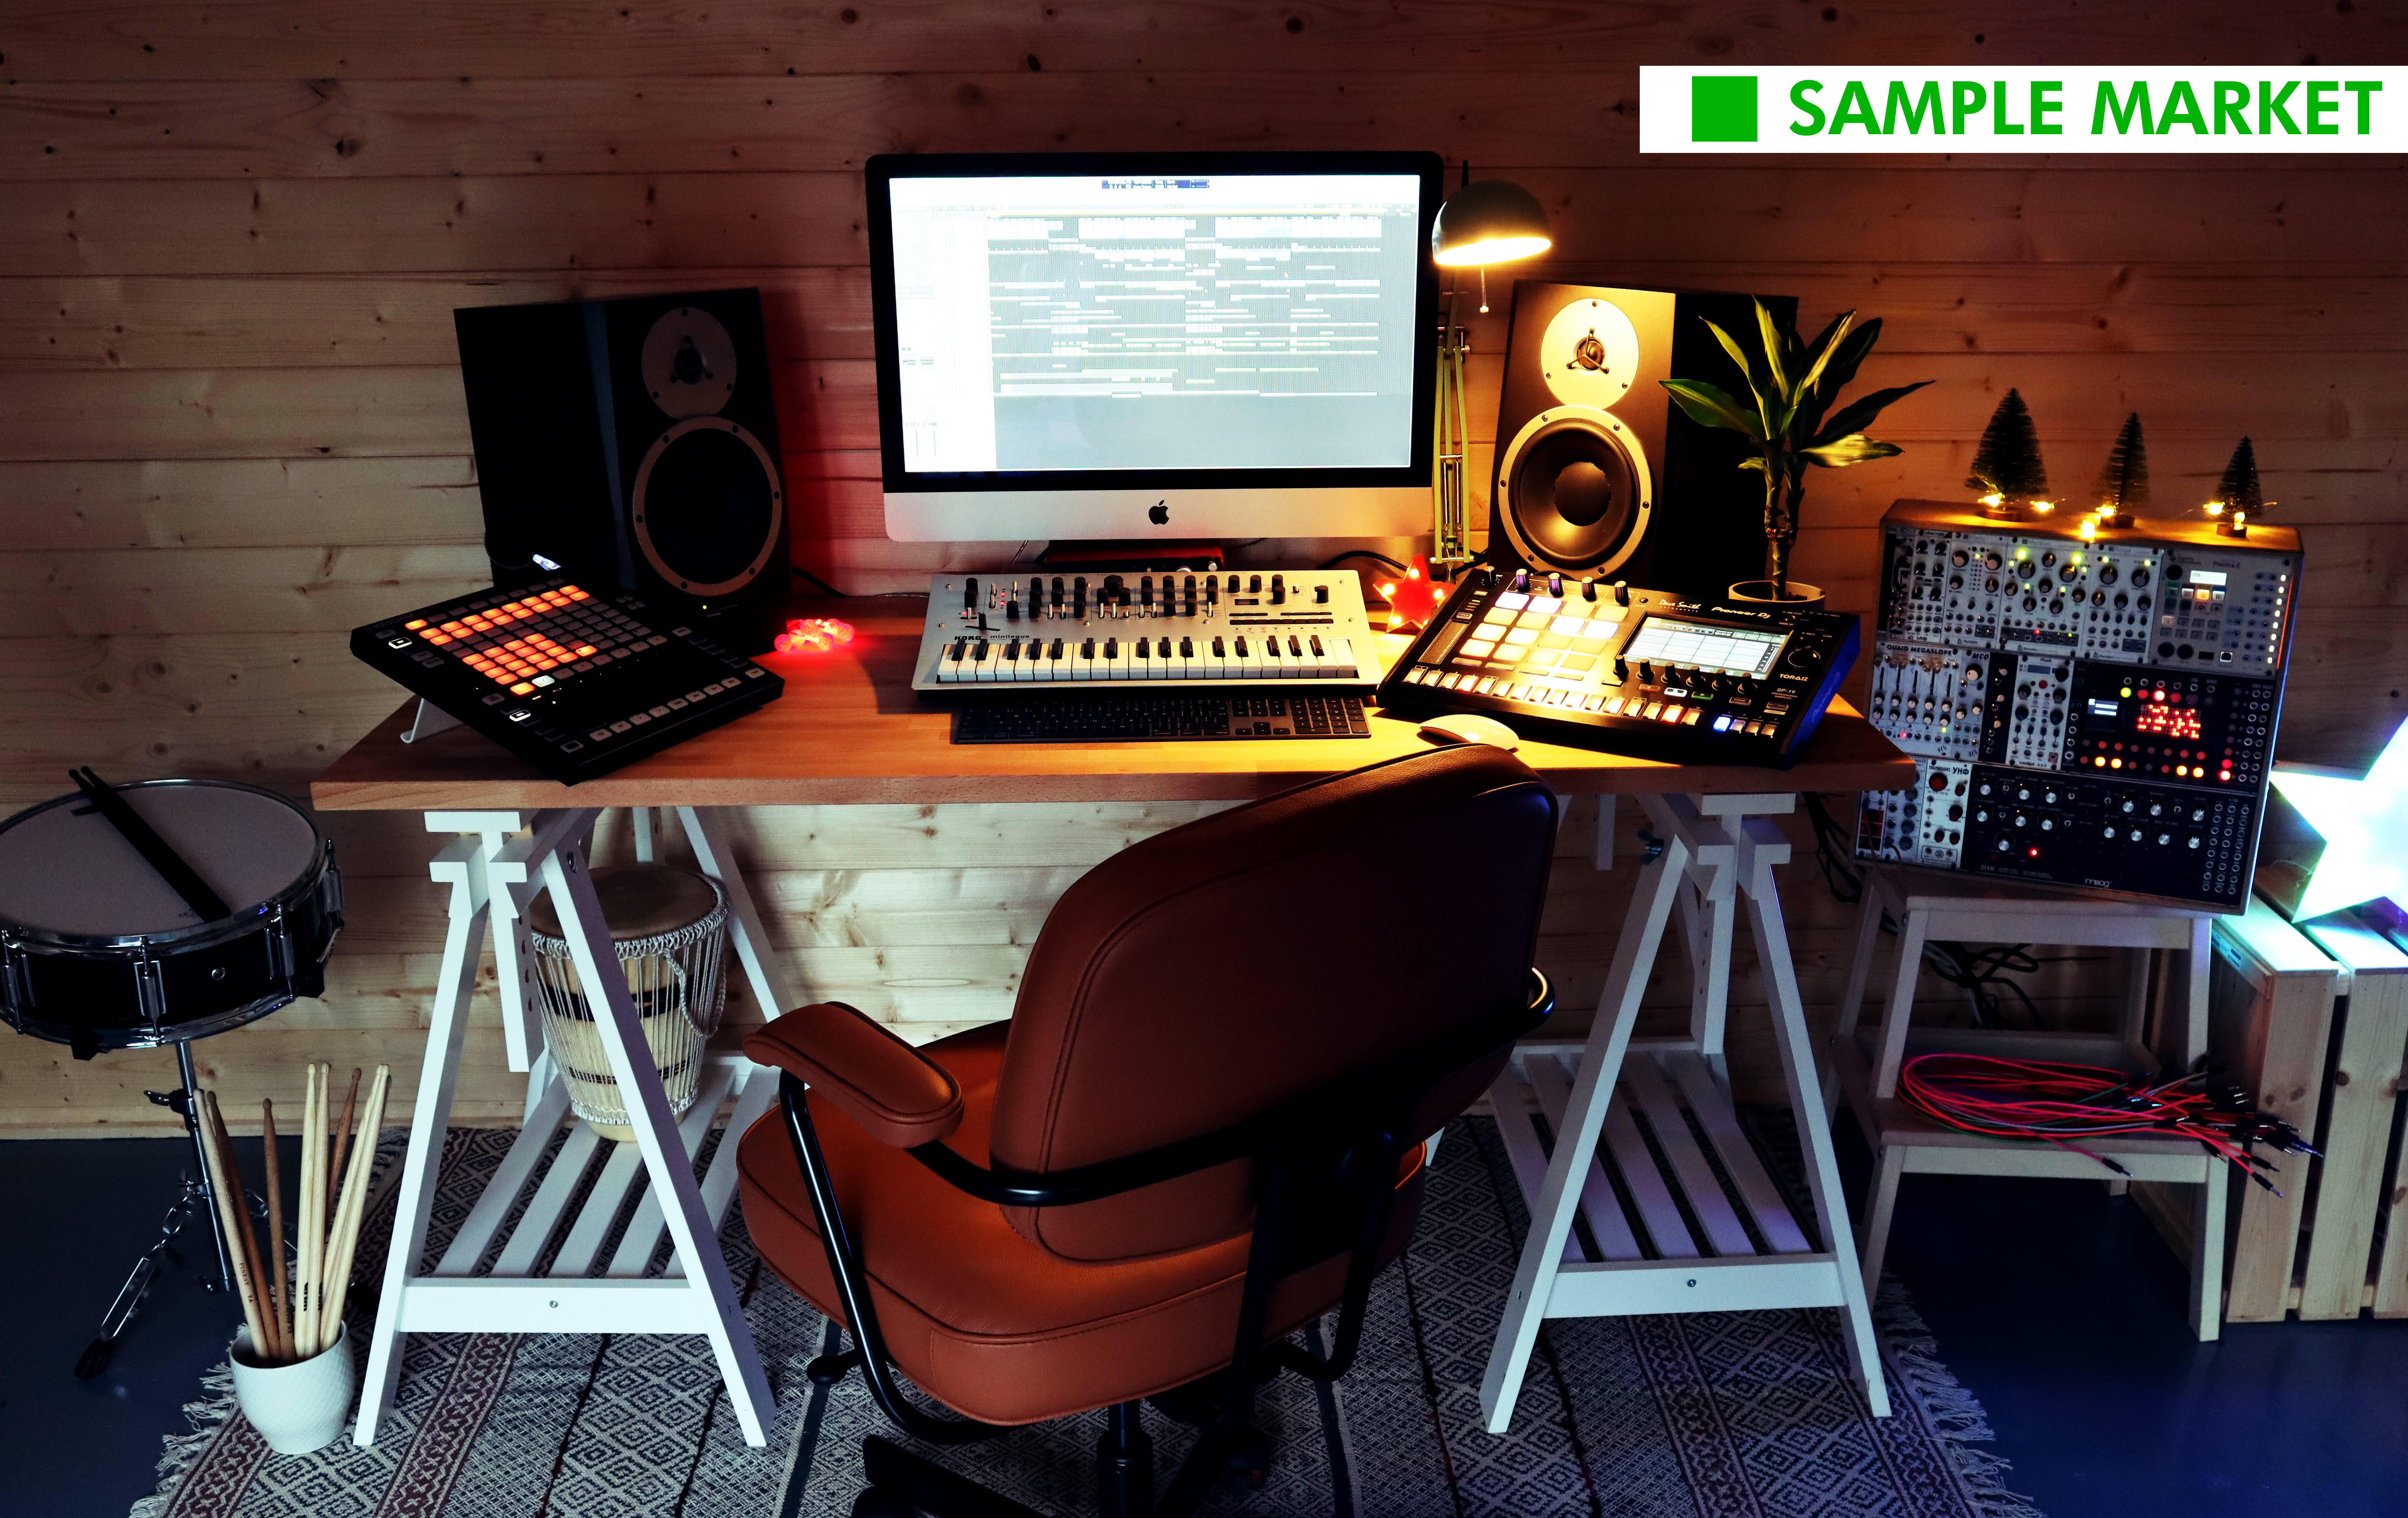
If you do need a dedicated space, the first thing you need to worry about is the sound of the room, and how much sound leaks /from/ the room, especially if you have neighbours. You should set up your studio in a room away from a shared wall – it's certainly cheaper than investing in sound proofing – or even in the garden. And at the very least, always monitor your music at low levels. It'll save your ears /and/ your relationship with your neighbours.
Start off simple
Once you've chosen a space, you should consider its acoustics. You want it to sound 'dead', that is with no (or little) reverb or echo; reflecting sounds off the walls and the ceiling will give you an inaccurate impression of how your mix is performing. Stopping this by treating the room acoustic can get complicated and expensive – see later – but on a simple level, consider deadening the room with everyday objects to start with. Place a sofa or bookshelf behind your listening position to disperse sound waves behind you. (There is a theory that egg boxes can do the same, but they are really just for holding eggs and look terrible!) Curtains on one wall will stop reflections between opposing walls; similarly a thick carpet stops vertical reflections and will absorb sound.
Speaker placement is next. A good place to start is with your speakers a couple of metres apart and aimed at you, with you sitting effectively at the third point of an equilateral triangle along the longest length of the room. Monitors should be placed at head height because they are aiming at your ears, and they should be placed from 50cm away from the back wall to avoid bass buildup. If you have the space and cash for stands, invest in them as they can be flexible and allow you to move the speakers away from the walls as well as up and down on adjustable stands. They often come with rubber stands to help cut down on vibration, but if you don't have these, acoustic absorbers that sit under monitors are a good way to cut down any resonances that might happen at specific frequencies.
As to your sitting position, invest in a comfortable seat and place it between 30% and 40% of the distance of the room away from the speakers (some advocate exactly 38% but it really depends on the size of your room). This is because all rectangular rooms – the most common used in any space – cause what are called nulls where the sound wave and its reflection effectively cancel one another out. Nulls in the bass frequency happen typically at the halfway point of a room, hence the 38% theory.
Better sound, bigger budget
On a very simple level, if you've done the basics above, you can go some way towards getting a decent-sounding room for music production. If you want to go to the next step for a more professional space, you will have to step up your knowledge… and budget. First up you need to test the frequency response of your space to identify frequency anomalies. You can use a microphone-based system like the £165 IK Multimedia Arc System 3 kit for this or the cheaper £119 miniDSP UMIK-1 plug n play kit. What these tests do is present you with the frequency response of your room and the flatter the frequency response, the better. If you find any peaks or troughs, you will need to deal with them by either adjusting the room's acoustics – see next paragraph – or EQing the frequency response of your speakers to account for them. Some monitor systems (including the Ones from Genelec and IK Multimedia's much cheaper iLoud MTMs) do the calibration room test and then adjust themselves – and they really do work!
 Image Credit : IK Multimedia ARC System 3
If you want to sort your own room acoustics, the guiding principles are fairly straightforward – at least we'll try and keep it simple! Think of the excess frequencies on your not-so-flat frequency response as problem frequencies that need to be removed. This can be done by using absorption or diffusion. The former method is rather like using curtains or sofa, as we detailed above, only slightly more sophisticated in that you can buy custom-built panels (from companies including Auralex, GIK Acoustics and Vicoustic) made of glass-fibre, rockwool or foam. These porous absorbers are best employed to deal with high and mid frequencies by convert the sound energy energy into heat. There are thicker foam absorbers (from the likes of t.akustik, Auralex and EQ Acoustic) that can be mounted in studio corners which absorb troubling lower frequencies. Resonant absorbers are also ideal for specific mid and low frequency areas, and can often be tuned to deal with specific frequencies. A popular example includes Vicoustic's Vari Bass which has a series of resonant pots that allow it to be tuneable between 50Hz and 100Hz to really home in on problem low frequencies, or GIK Acoustics Scopus Tuned Bass Trap which uses a membrane to absorb frequencies from 35Hz to 125Hz
.
.jpeg)
Image Credit : GIK Acoustics Bass Trap
The other type of acoustic treatment worth mentioning here is diffusion which helps scatter certain frequencies and can be used to deal with specific issues like comb filtering – where the same sound arrives at you ears at slightly different times – and can also add a sense of space in your studio if you don't want the overall sound to be too dead.
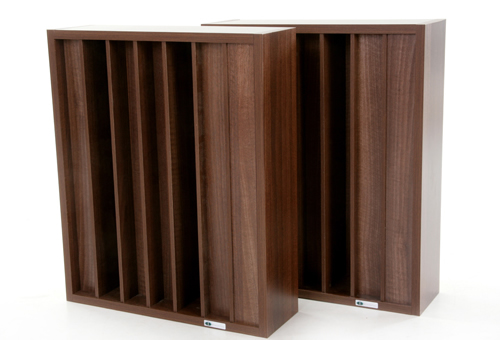
Image Credit : GIK Acoustics Diffusor
Finally, if you don't wish to tackle the problem of acoustically treating your own room, you can get some of the companies mentioned above to do it for you; very often they can give you free advice and all starting out from photographs of your space. It will cost, but acoustically treating your studio space, and setting up your monitors correctly are the best starting points to get perfect mixes and should be considered essential parts of your studio build.


