


For music producers and mix engineers of all skill levels and musical styles, getting your mix up to the appropriate loudness can be a complex and sometimes frustrating challenge. In this article, we’re going to discuss what loudness really means, and how you can use a few simple techniques to get louder mixes.

What is loudness?
In simple terms, loudness in audio refers to how loud we perceive audio to be. The key here is the word ‘perceive’, which indicates that loudness is a subjective concept, and therefore cannot be measured. For this reason, loudness is different to level, which is sometimes measured in SPL, dBs or LUFS. The distinction between loudness and level is important; with the right knowledge and tools, it’s possible to mix a track to sound louder, without actually increasing its level.
How to get louder mixes
Now that we’ve defined loudness and explained how it differs to level, let's look at some steps you can take to heighten the loudness of your mixes.
Get it right from the start with careful sample selection
There is a common misconception that achieving loudness is all down to the mastering. In reality, factors at every stage of the production process will influence your track’s loudness. As early on as sample selection, you’re setting yourself up for either an easy or a challenging mix and master.
If you select a number of samples with lots of frequency content within the same ranges, these frequencies will build up during the course of the mix. This will increase the peak level of your production, therefore reducing headroom and overall loudness. Instead, try to choose samples which occupy different frequency ranges. Not only will this help you to achieve a louder mix, but your composition will sound more tonally balanced too.

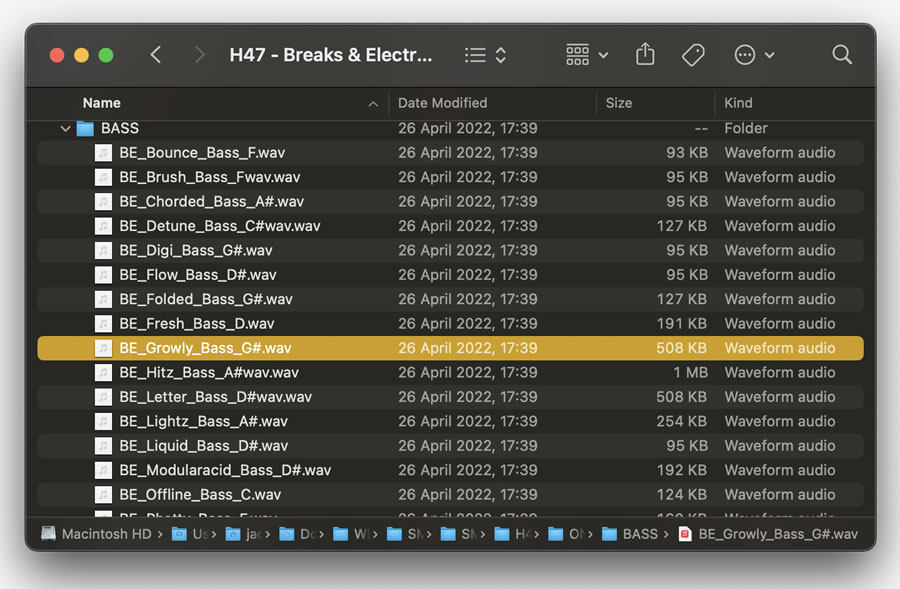
Need to refresh your sample library or find some creative inspiration? Head to Sample Market to browse the huge selection of professional one-shot and loop samples, suitable for all styles and genres of electronic music.
Remove unwanted frequencies and create headroom with EQ
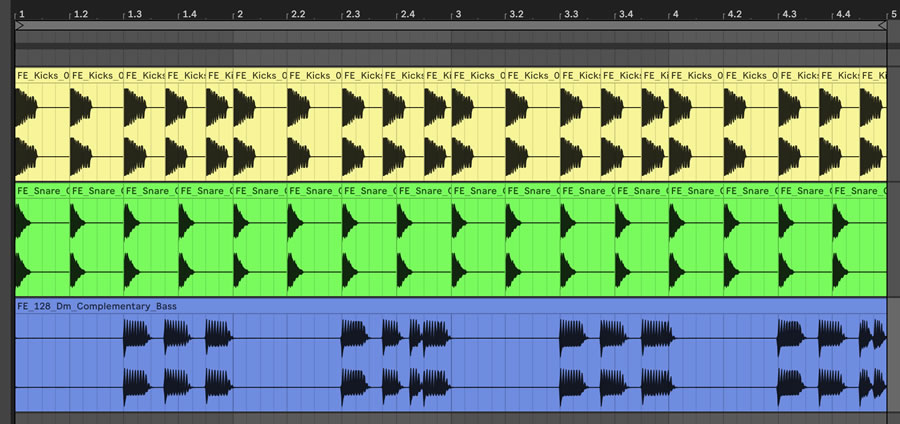
It’s inevitable that many of the elements in your composition will occupy some of the same frequency ranges, such as the kick and bass. In these cases, you can use equalisation to carve out some space for affected instruments. This will create valuable headroom and help to make each element sound more defined and transparent.
EQ is also useful for removing unwanted frequencies which may not be audible, but are adding to the overall level of your mix and therefore reducing headroom. Let’s take this synth sample for instance. Most of the useful frequency information is above 150Hz, and removing all of the frequency content below that point leaves the tone and character of the sample intact.
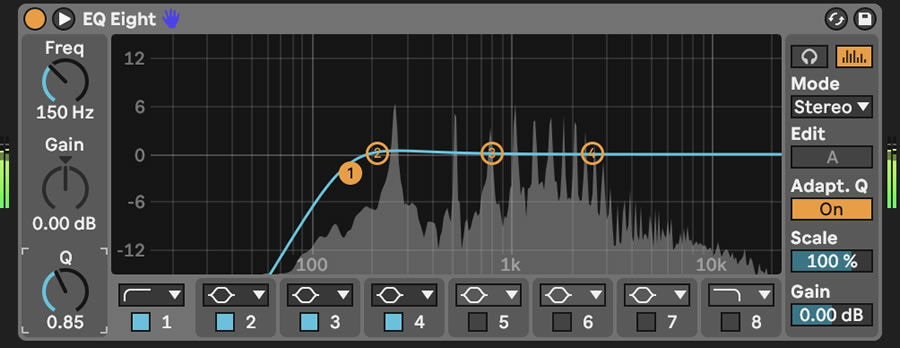
Try applying this technique to any mid or high-frequency instruments such as claps, snares, hi-hats and shakers. You might be surprised by how much frequency content you can remove before you alter the sound, and how much headroom this can free up.
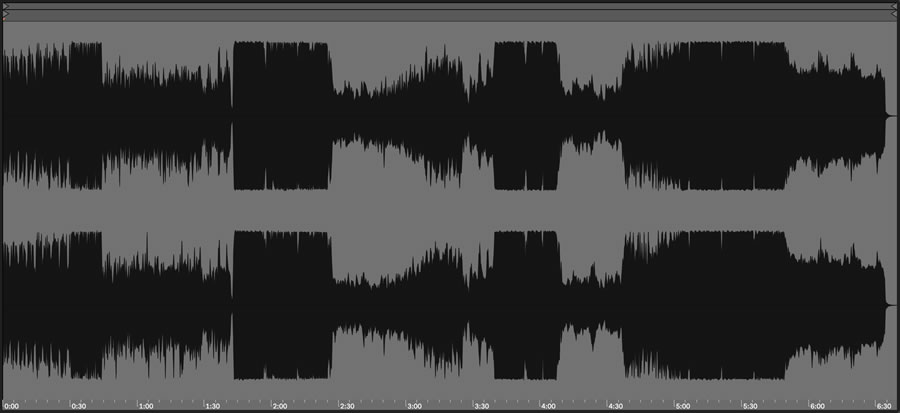
Consider loudness when arranging your track
Instrument programming and track arrangement are hugely underestimated factors when it comes to achieving loud mixes. If your track contains too many elements playing simultaneously, the overall level of your production may increase but the perceived loudness may decrease. This is particularly true when you combine elements with overlapping frequency content.
As with many areas of music production, loudness is about contrast. Try to apply this thinking when structuring your track. If you have a kick and bass playing throughout the entirety of your track, nothing will be perceived as loud. Instead, try removing or attenuating the louder elements during certain sections. This will give them more impact and perceived loudness when they are reintroduced.
Create separation with sidechain compression
As mentioned before, it is inevitable that some of the elements in your track will contain some of the same frequencies and be played simultaneously. You can use sidechain compression to limit the effect this has on your track’s overall loudness. You might be familiar with the use of sidechain compression to duck a bass sound each time a kick is played, but the technique is valuable on a number of instruments across the entire frequency range.
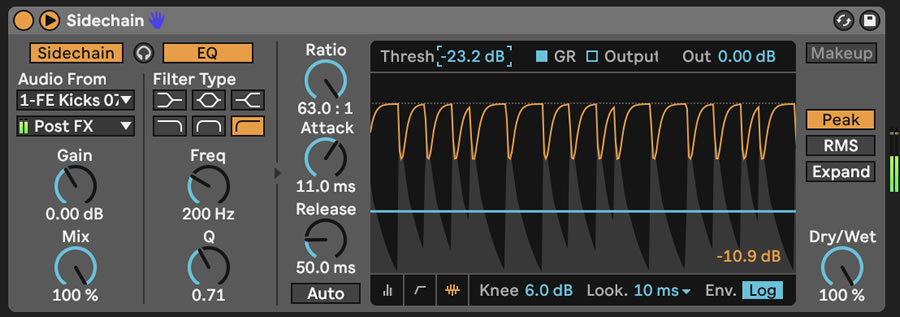
When mixing a highly melodic track which contains vocals, it’s common for the vocal to sit in the same frequency range as pianos or synth sounds. You can use sidechain compression to slightly duck the instrument when the vocal sounds. This helps the vocal to retain prominence and transparency in your mix, and also increases your track’s headroom.
Control extreme dynamics with serial compression
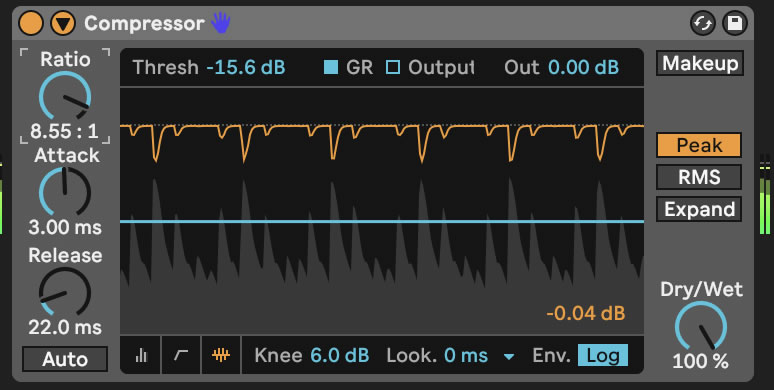
In addition to sidechain compression, there are plenty more applications for dynamic compressors. One of which is to use two compressors in serial to control extreme dynamics in a natural and musical way. Of course, you can use a single compressor but this is more likely to introduce pumping and other unwanted artefacts. This technique is particularly useful on very dynamic sound sources such as drums, vocals and other performed instruments.
Start by placing your first compressor on the channel you want to process. This compressor’s task is to simply control the loudest peaks, so we’ve selected a transparent compressor. Set a relatively high Ratio with a fast Attack and Release, then bring down the Threshold until you achieve approximately 6dB of gain reduction. This will reduce the signal’s overall level, thus increasing your mix’s headroom.
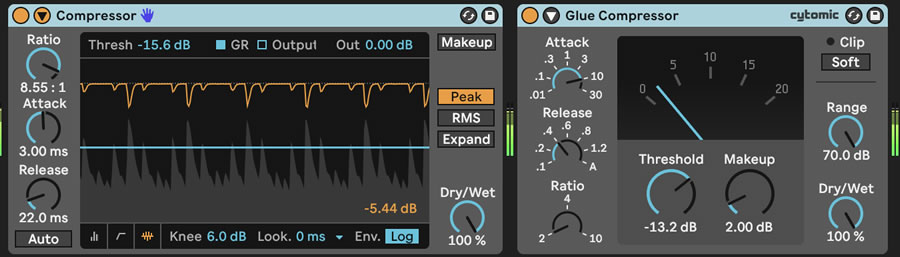
Now place the second compressor after the first. You can use the same compressor again, or you can select a less transparent compressor to give your signal some more character. This time, use a lower Ratio with slower Attack and Release times. The goal of this compressor is to gently squeeze the signal with only one or two decibels of gain reduction.
Introduce harmonics and control dynamics with saturation
You might be familiar with the use of saturation to add colour and character to a signal, but did you know that saturation can be used to get louder mixes too?
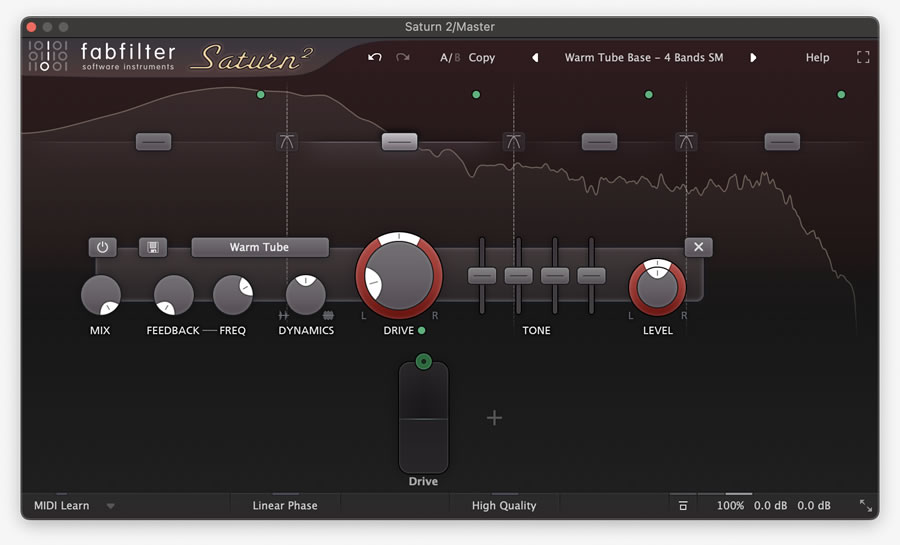
When we saturate a signal, two main processes occur; dynamic compression, and distortion. When saturation occurs in hardware, this is because the output cannot match the input, hence increasing a mixer’s input gain on an analogue mixer can cause saturation.
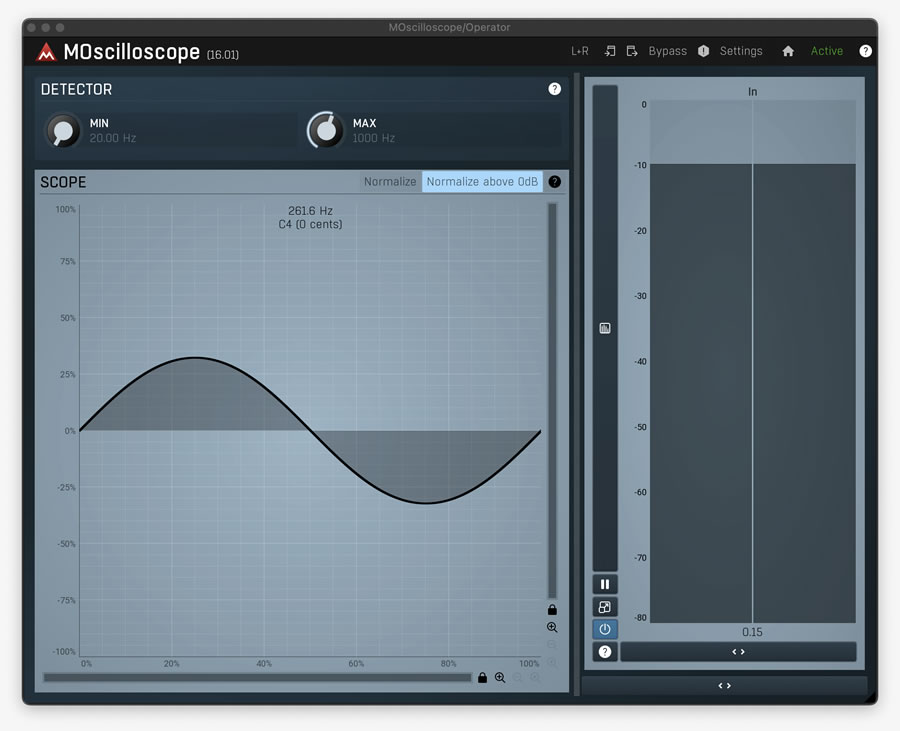
This is easy to visualise by applying saturation to a pure sine wave. When we apply 15dB of saturation to our sine wave, the top and bottom of the signal become flattened off and become a square wave. We can see from the level meter that the signal also gets quieter.
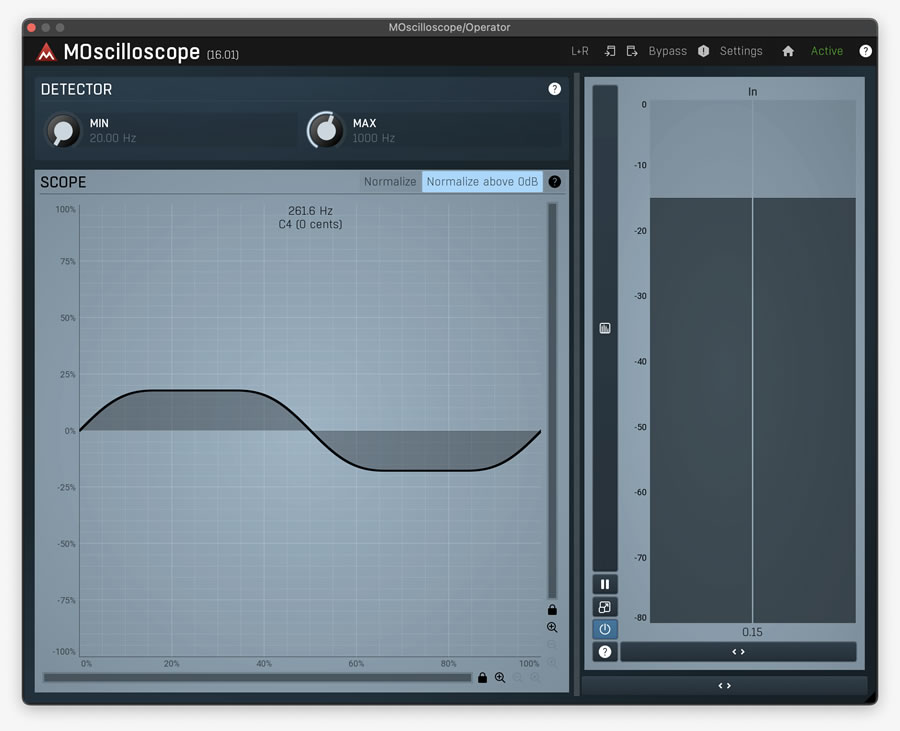
Of course, this is an extreme example, but we can apply the same concept to highly dynamic signals such as drums in order to control their peaks. Saturation is a natural and musical way of bringing down a signal’s peak level without altering its perceived loudness. This allows us to get a louder mix overall.
Use a limiter or clipper
You might be under the impression that limiters and clippers are reserved exclusively for the mastering stage of the production process. While these tools are commonly used during mastering, that doesn’t mean they can’t be used during mixing too.

In some cases, you may want to apply particularly aggressive gain reduction, even more aggressive than is possible with a compressor. For these scenarios, you can use a limiter or clipper. A limiter is essentially a compressor with a ratio of infinity to one. A clipper, on the other hand, will do just what it says on the tin, and will ‘clip’ any audio that peaks above the threshold.
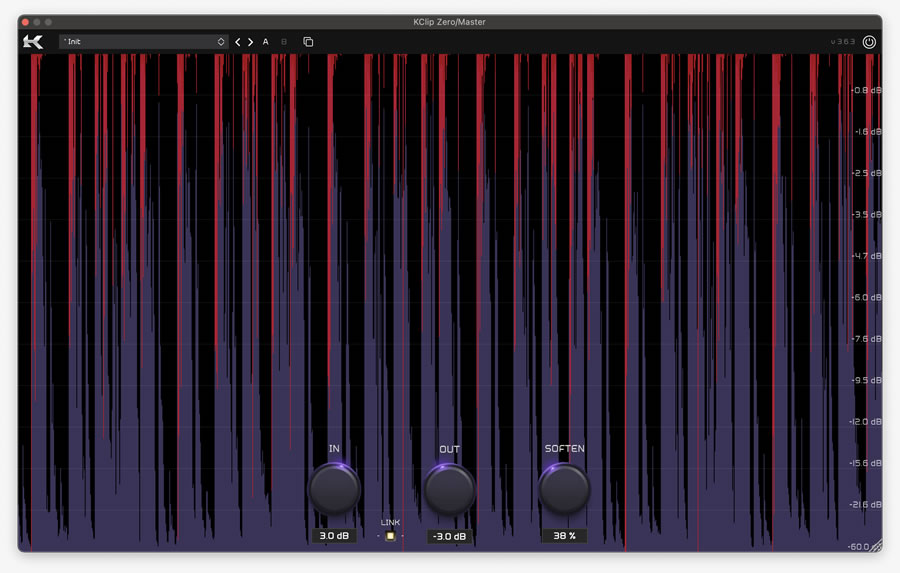
Generally, limiters sound more natural and transparent, while clippers can add character and interest to your sounds. Both limiters and clippers can be used to achieve a louder mix, you can even use them in conjunction. As always, the important thing is to listen to your mix, and understand how your processing changes its loudness and tone.
What’s next?
Once you’ve got your mix where you want it, it’s time to export it and get it mastered. If you’re sending your mix off to a dedicated mastering engineer, they may have preferred file formats and audio loudness that you should adhere to. Similarly, if you are using an online mastering platform, they may have a guide on how to export your mix ready to be mastered.
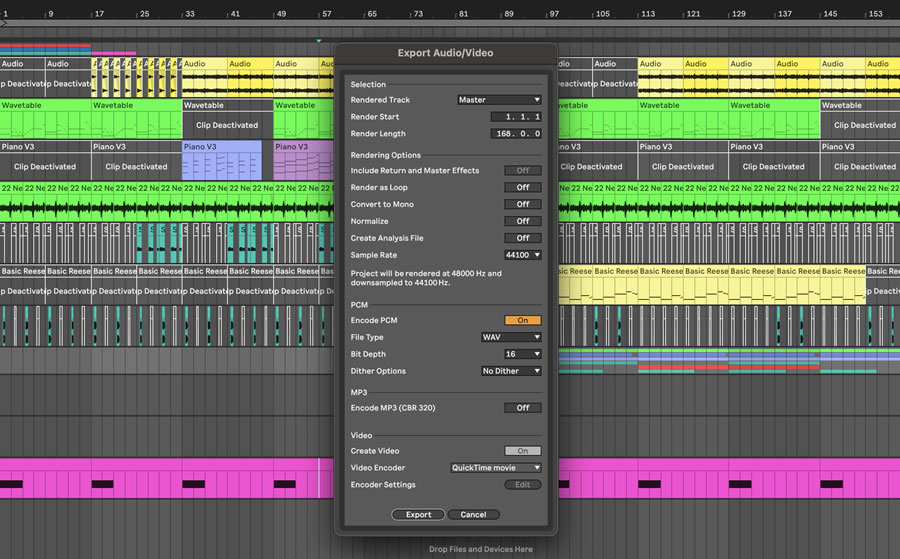
A good rule of thumb is to export a lossless file such as a WAV, FLAC or AIFF. You should also export with a sample rate of at least 44.1kHz (48kHz if composing for picture), and a bit depth of 16 or 24 bits. Some mastering engineers will ask for at least 6dB of headroom, but with modern digital tools, it doesn’t really matter as long as your mix doesn’t exceed 0dB, causing it to clip in the digital domain.
