


Do you want a better sounding, more professional mix? Try these easy tips for better mixing and you'll give your tunes – and all the parts within them – the lift that they deserve…
1. If it sounds good, it is good. However…
First up, trust your ears. If your mix sounds good – even after breaking every rule in 'the mixing book' – then it probably is good. ‘Aha,’ you might think, ‘then we’re good to go, bounce to stereo and release that tune, right?’ Well, not quite…
The ‘if it sounds good’ philosophy comes with two caveats. 1) Following the mixing rules does give you better results – and after reading some of them below, you’ll very quickly understand why. And 2) You need to make sure that what you are hearing – that mix that sounds so incredible – is accurate, and this comes down to the quality of your studio speakers or headphones. Put simply: if they are not delivering an accurate representation of your mix, what sounds good to you might sound dreadful elsewhere.
So how do you know if your speakers are delivering an accurate sound? You compare your mixes on as many playback systems as possible – car, hi-fi, phone, everything. Better still, audition them on a mate’s super accurate speakers and see how they perform. If they sound consistently bad elsewhere, then the chances are your speakers or ‘phones are lying to you – time to upgrade. This can now be less expensive than that sounds. Speakers from JBL, Focal, Kali Audio, Adam Audio, Yamaha, Eve Audio and more do the job for much less outlay than you might think – certainly hundreds, rather than thousands. And remember: once you have good speakers, use them; use your ears when mixing, not your eyes.
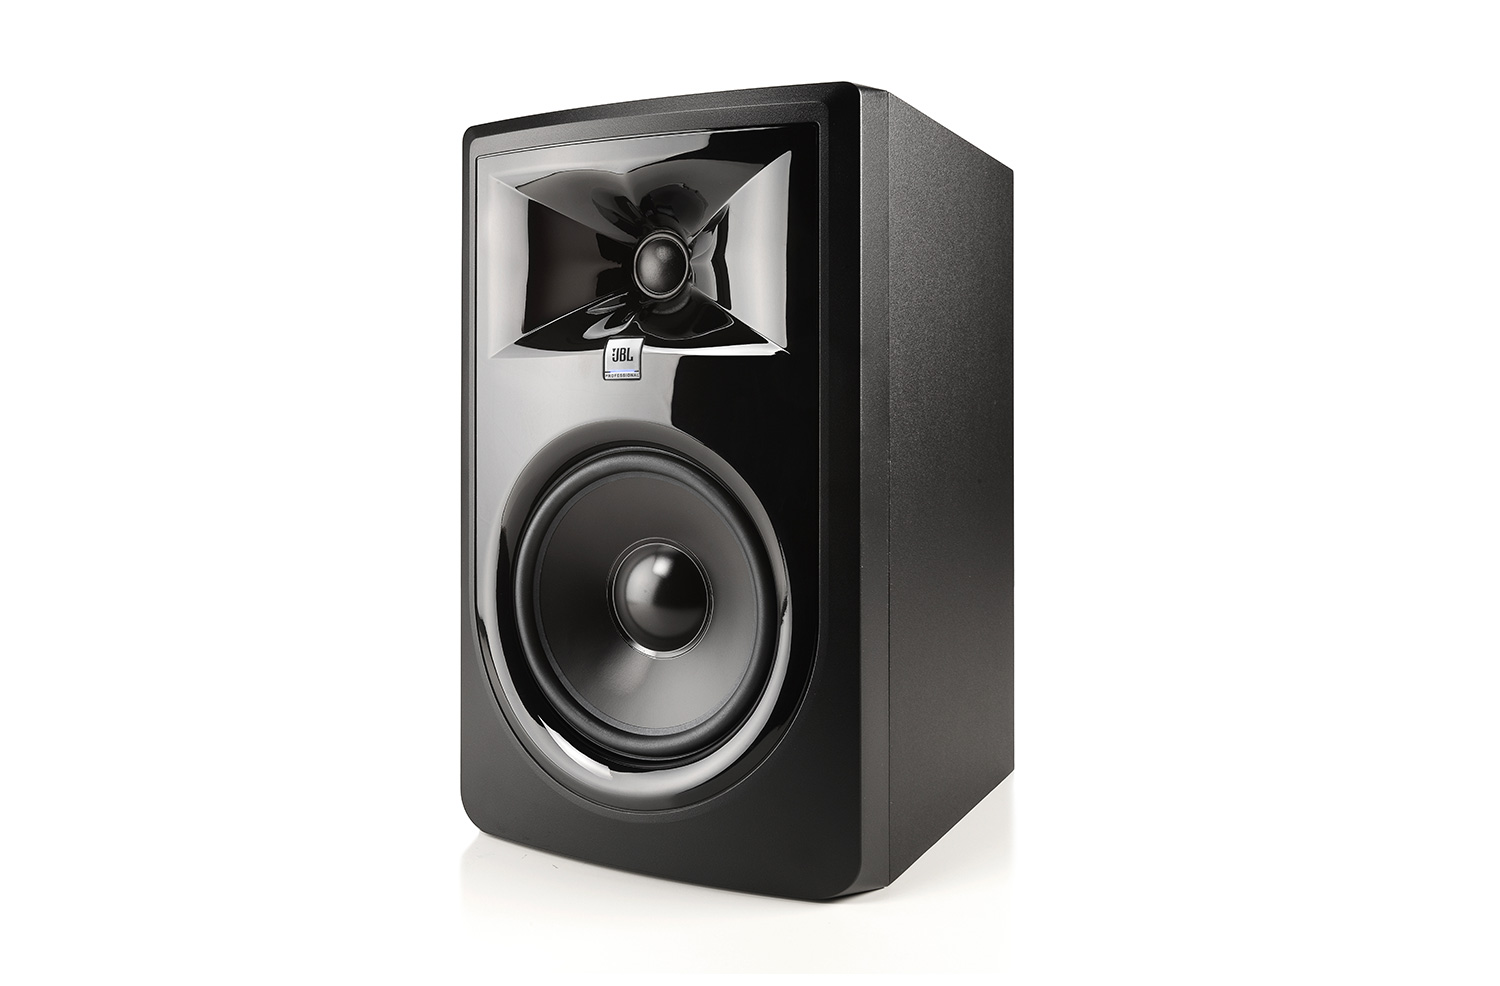
*Speakers like these from JBL will deliver accuracy at a great price
2. Understand the basic mix tools and picture them!
Your basic mixing tools are volume, panning, EQ and compression. Mastering all four processes will get you most of the way towards a decent mix, and one gem of advice to help here is to picture your mix in several dimensions. There is panning left and right (surround if you’re lucky), then volume up and down (with compression giving you consistency) and EQ-ing, if you like, front to back. The space you have to play with, then, is vast! Plenty of room to place elements left and right, up and down and front to back so that each component in your song can sing and make its mark.
With panning, one way to think of a mix – especially if you are working on a more traditional band-based song – is to envisage it as the band playing in front of you. Bass and drums in the middle, vocals too, keys, backing vox and guitars spread left and right. For compression you're really talking about controlling volume levels so they don't get too wayward throughout a track. In mixing, having a controlled volume level is important; you might want to pull the snare part of a drum loop back or lose the slap part of a bass sound, by using compression. Conversely you might want to bring these elements out by compressing other parts.
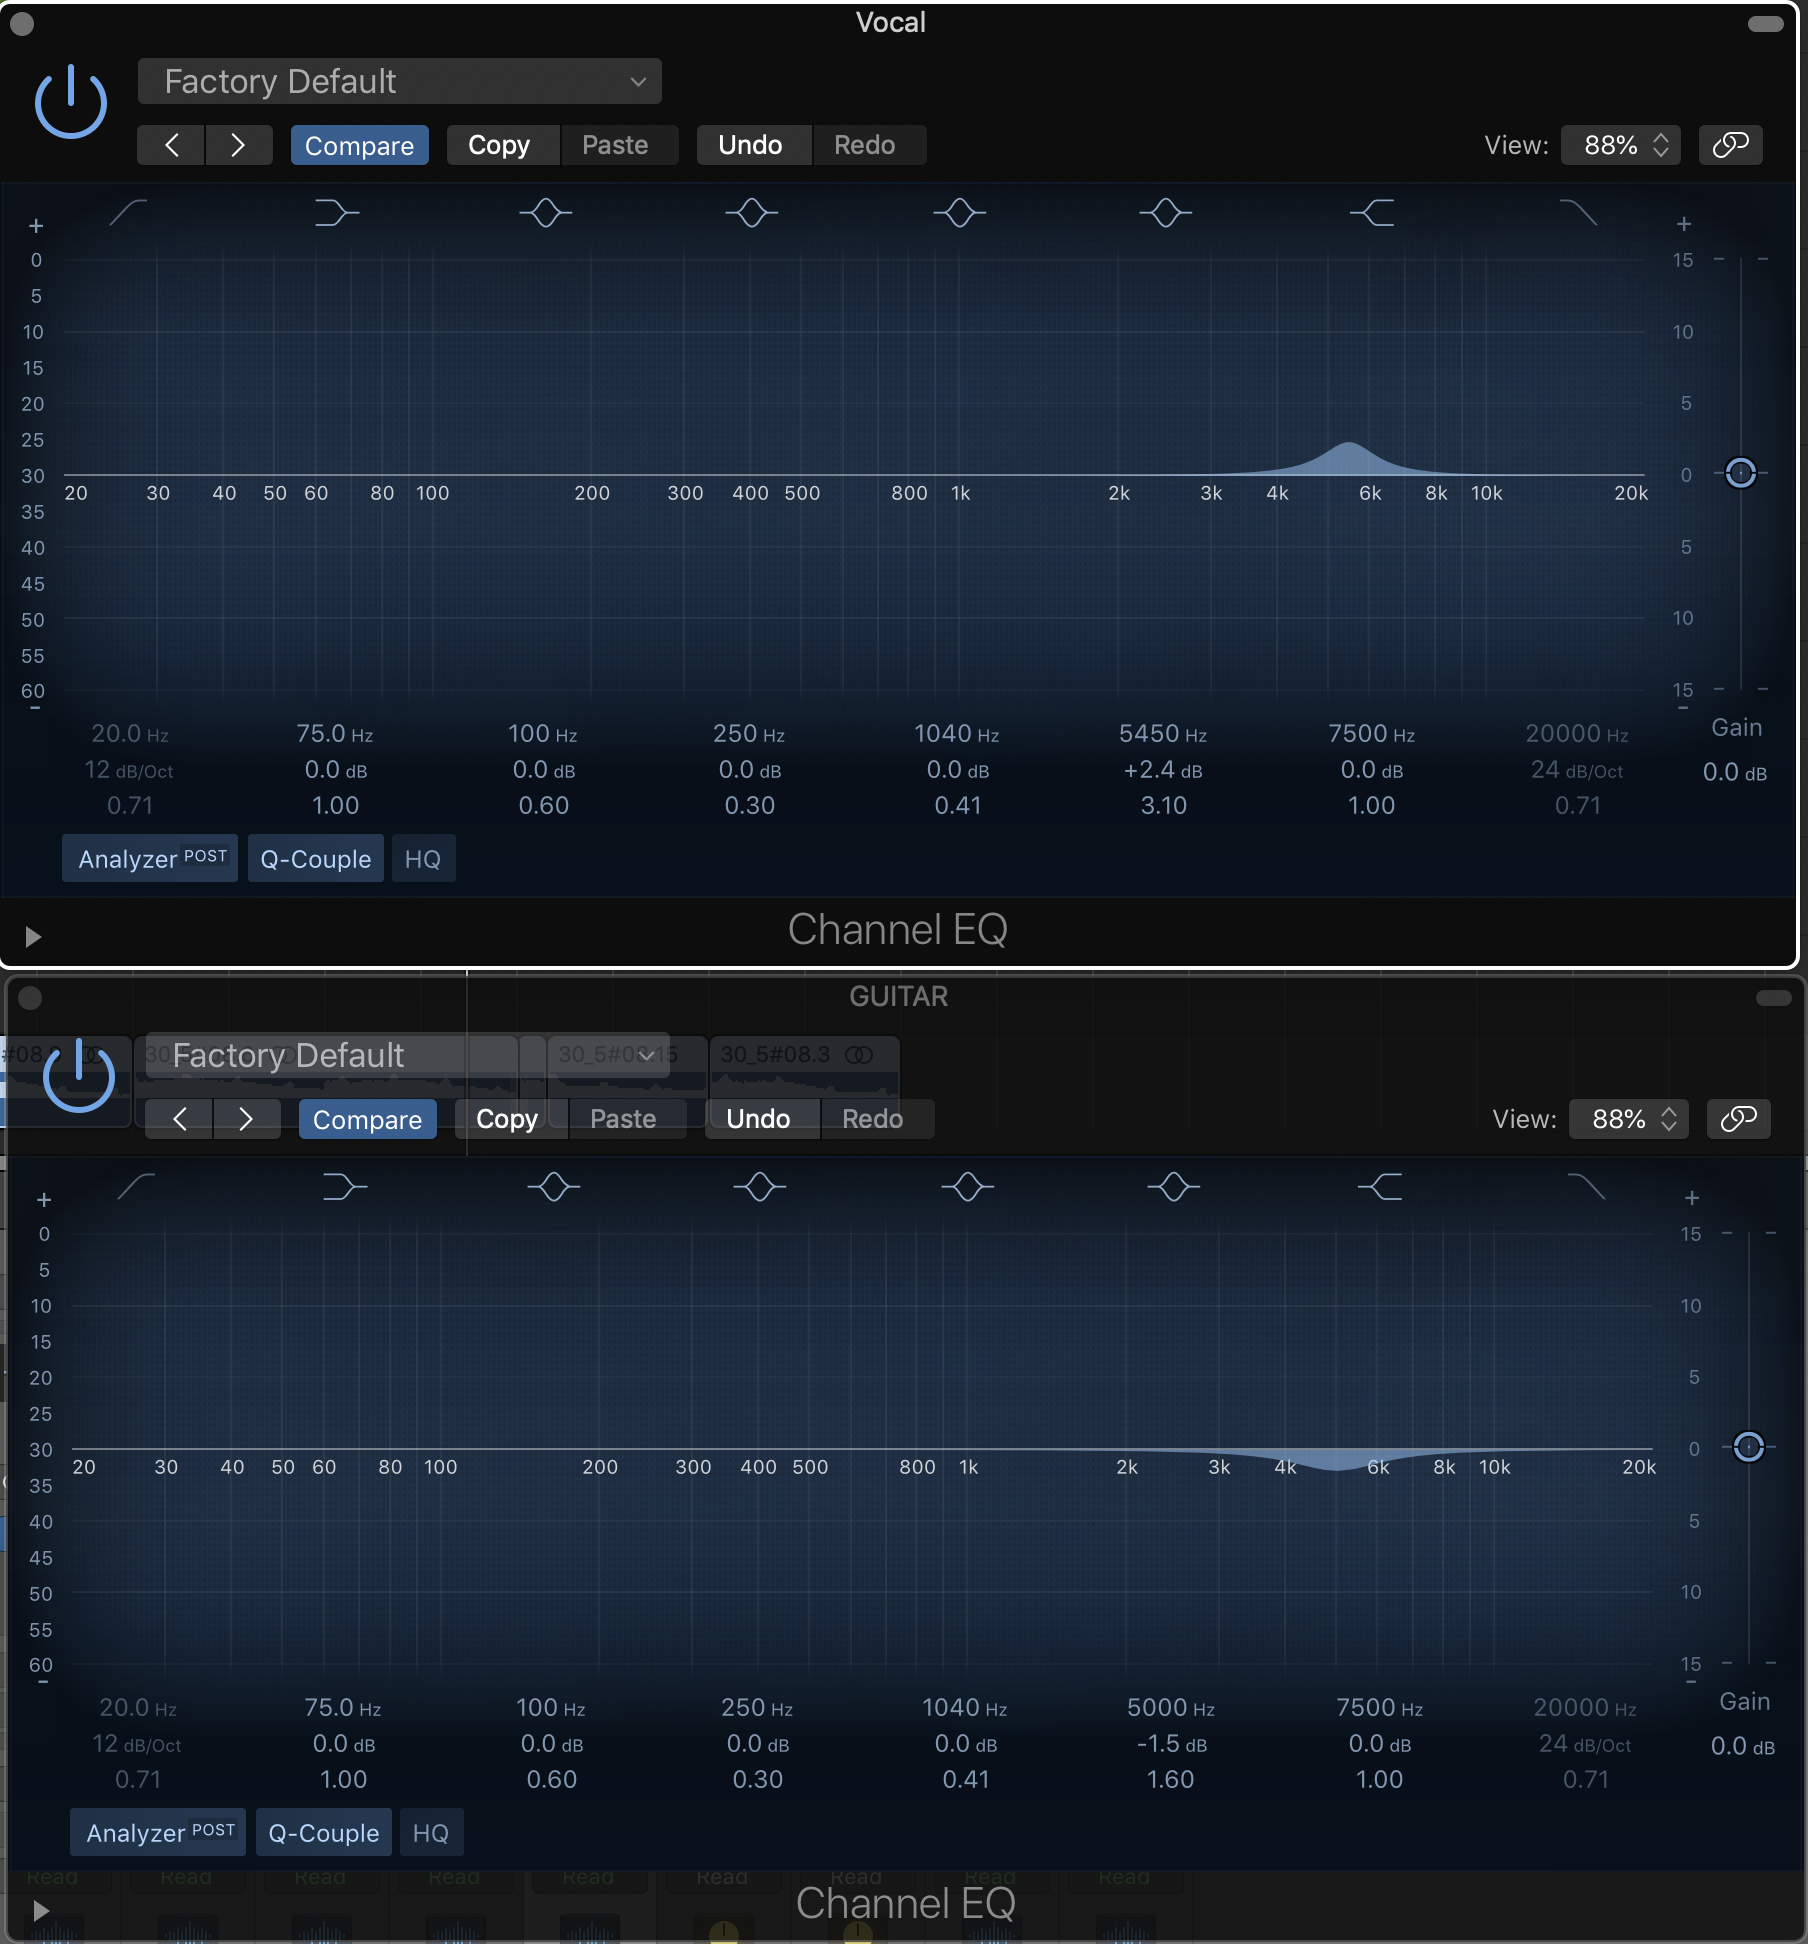
For EQ, again think of your mix as a picture: the sub bass is the lowest part on the left going up to around 60Hz (covering kick drums and sub bass); the bass is next from 60Hz to around 200Hz (covering bass guitar, male vocals); then lower mid (200-500Hz covers your guitars, vocals and the top end of bass guitar); mids (500Hz-2KHz for vocals and percussion, some keys); upper mid (2-4KHz, for percussion, snares, high vocals, strings); and finally treble (4KHz plus covering cymbals and other percussion).
*Filling in the overall 'picture' evenly should lead you to a clear mix where every song element plays its part.
*Master volume, panning, EQ and compression and you're 90% towards a great mix
3. Use general EQ rules
Adjusting volume levels and pan positions will get your mix nicely spread but focussing on EQ is where you can make it shine. Your main goal here is to identify the important parts of your mix and the problem parts, and to boost the good and cut the bad.
An EQ does this according to various different shapes. Bell or band shapes deal with notches up or down across specific ranges. Generally speaking, 'boost wide, cut narrow', so use narrow ranges for cuts and wider for boosts. You can often identify problem frequencies by using 'boost and sweep', manually sweeping an EQ boost across a section of music as it loops around to enhance anomalies – or even a precise noise – that you can then cut. Shelving EQs are for boosting or cutting a whole set of high or low frequencies by the same amount – you might want to give the whole top-end of a track a boost so use a high shelf EQ for this.
Filters are the most dramatic types of EQ, losing great swathes of frequency ranges in one action: low pass allows all low frequencies through; high pass the high frequencies. Many mixers condone using a high pass filter on every part of your mix aside from the bass and kick (or other obvious ‘low’ instruments) removing everything below a certain frequency; when you really don’t need the low end, get rid of it. This means that only the bass parts get to use that part of the frequency spectrum, which can be a useful option when mixing bass heavy dance music, for example.
*And finally, avoid EQing in solo mode as you want to hear the results in the context of your mix. More on this in the next tip…
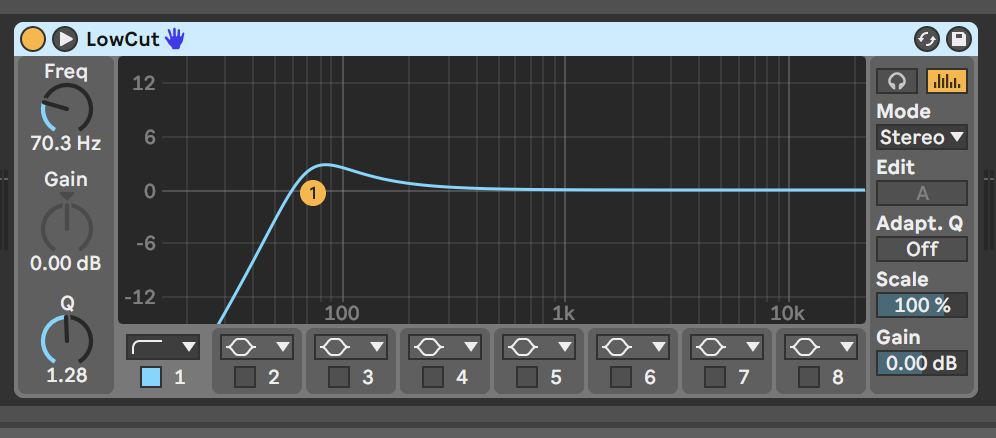
If you don't need the low end get rid of it, but like everything in mixing, don't overdo it
4. Avoid clashing, create space
It's obvious how panning and volume can be used to allow certain parts to stand out, but what if two parts of a mix fundamentally sit in the same part of the stereo field or if you want to simply lift a part of your mix without just boosting the volume? This is where EQing comes in again, cutting certain frequencies and boosting others to help with both clashing and enhancing scenarios. Let’s look at clashing first.
Some parts you can’t separate with panning, like bass and kick drums. On a very simple level, you can boost the offending crossover frequencies of one and cut the other, effectively moving them away from one another in EQ terms. Warning! This will take some precision EQing and some experimentation – and instead, you might be better off choosing new kick and bass sounds with very different properties so they can more easily coexists with one another.
One other point here: as you cut and boost EQs on conflicting sounds, you might well find that one or both of the sounds start sounding thin and weedy in isolation, but as bad as they might sound in Solo mode, it’s the sound of their unified mix that is the important one here. Remember point 1? If they sound good together…
You can use a similar EQ cut and boost technique to enhance other parts of your mix. Say you really want that great vocal to stand out, you might find that boosting at 5kHz helps here, but a smaller boost here while cutting the same frequency on other parts of the mix will lift it in a more natural and subtle way, giving you extra headroom because you have effectively lowered everything around it to give it the space it deserves and room to shine; focussing more on cutting than boosting is a good rule to follow with EQ and indeed many other mix aspects, which leads us to our final tip…
*A subtle lift can be enhanced by cutting EQ on other mix parts
5. Don't overdo… anything
Restraint in every aspect of mixing is probably the best overall advice we can offer. From mixing at low volume levels (to save your ears) to holding back on the number of tracks you use (it didn’t do The Beatles any harm). As tempting – and easy – as it is these days, don’t throw every plugin instrument you have at a mix and drown it with every effect. It’s not what you use, but the quality of the sound and melody, and restraint is often the secret of great mixing. Be subtle and expect subtle results.; small changes here and there soon add up. Happy mixing!
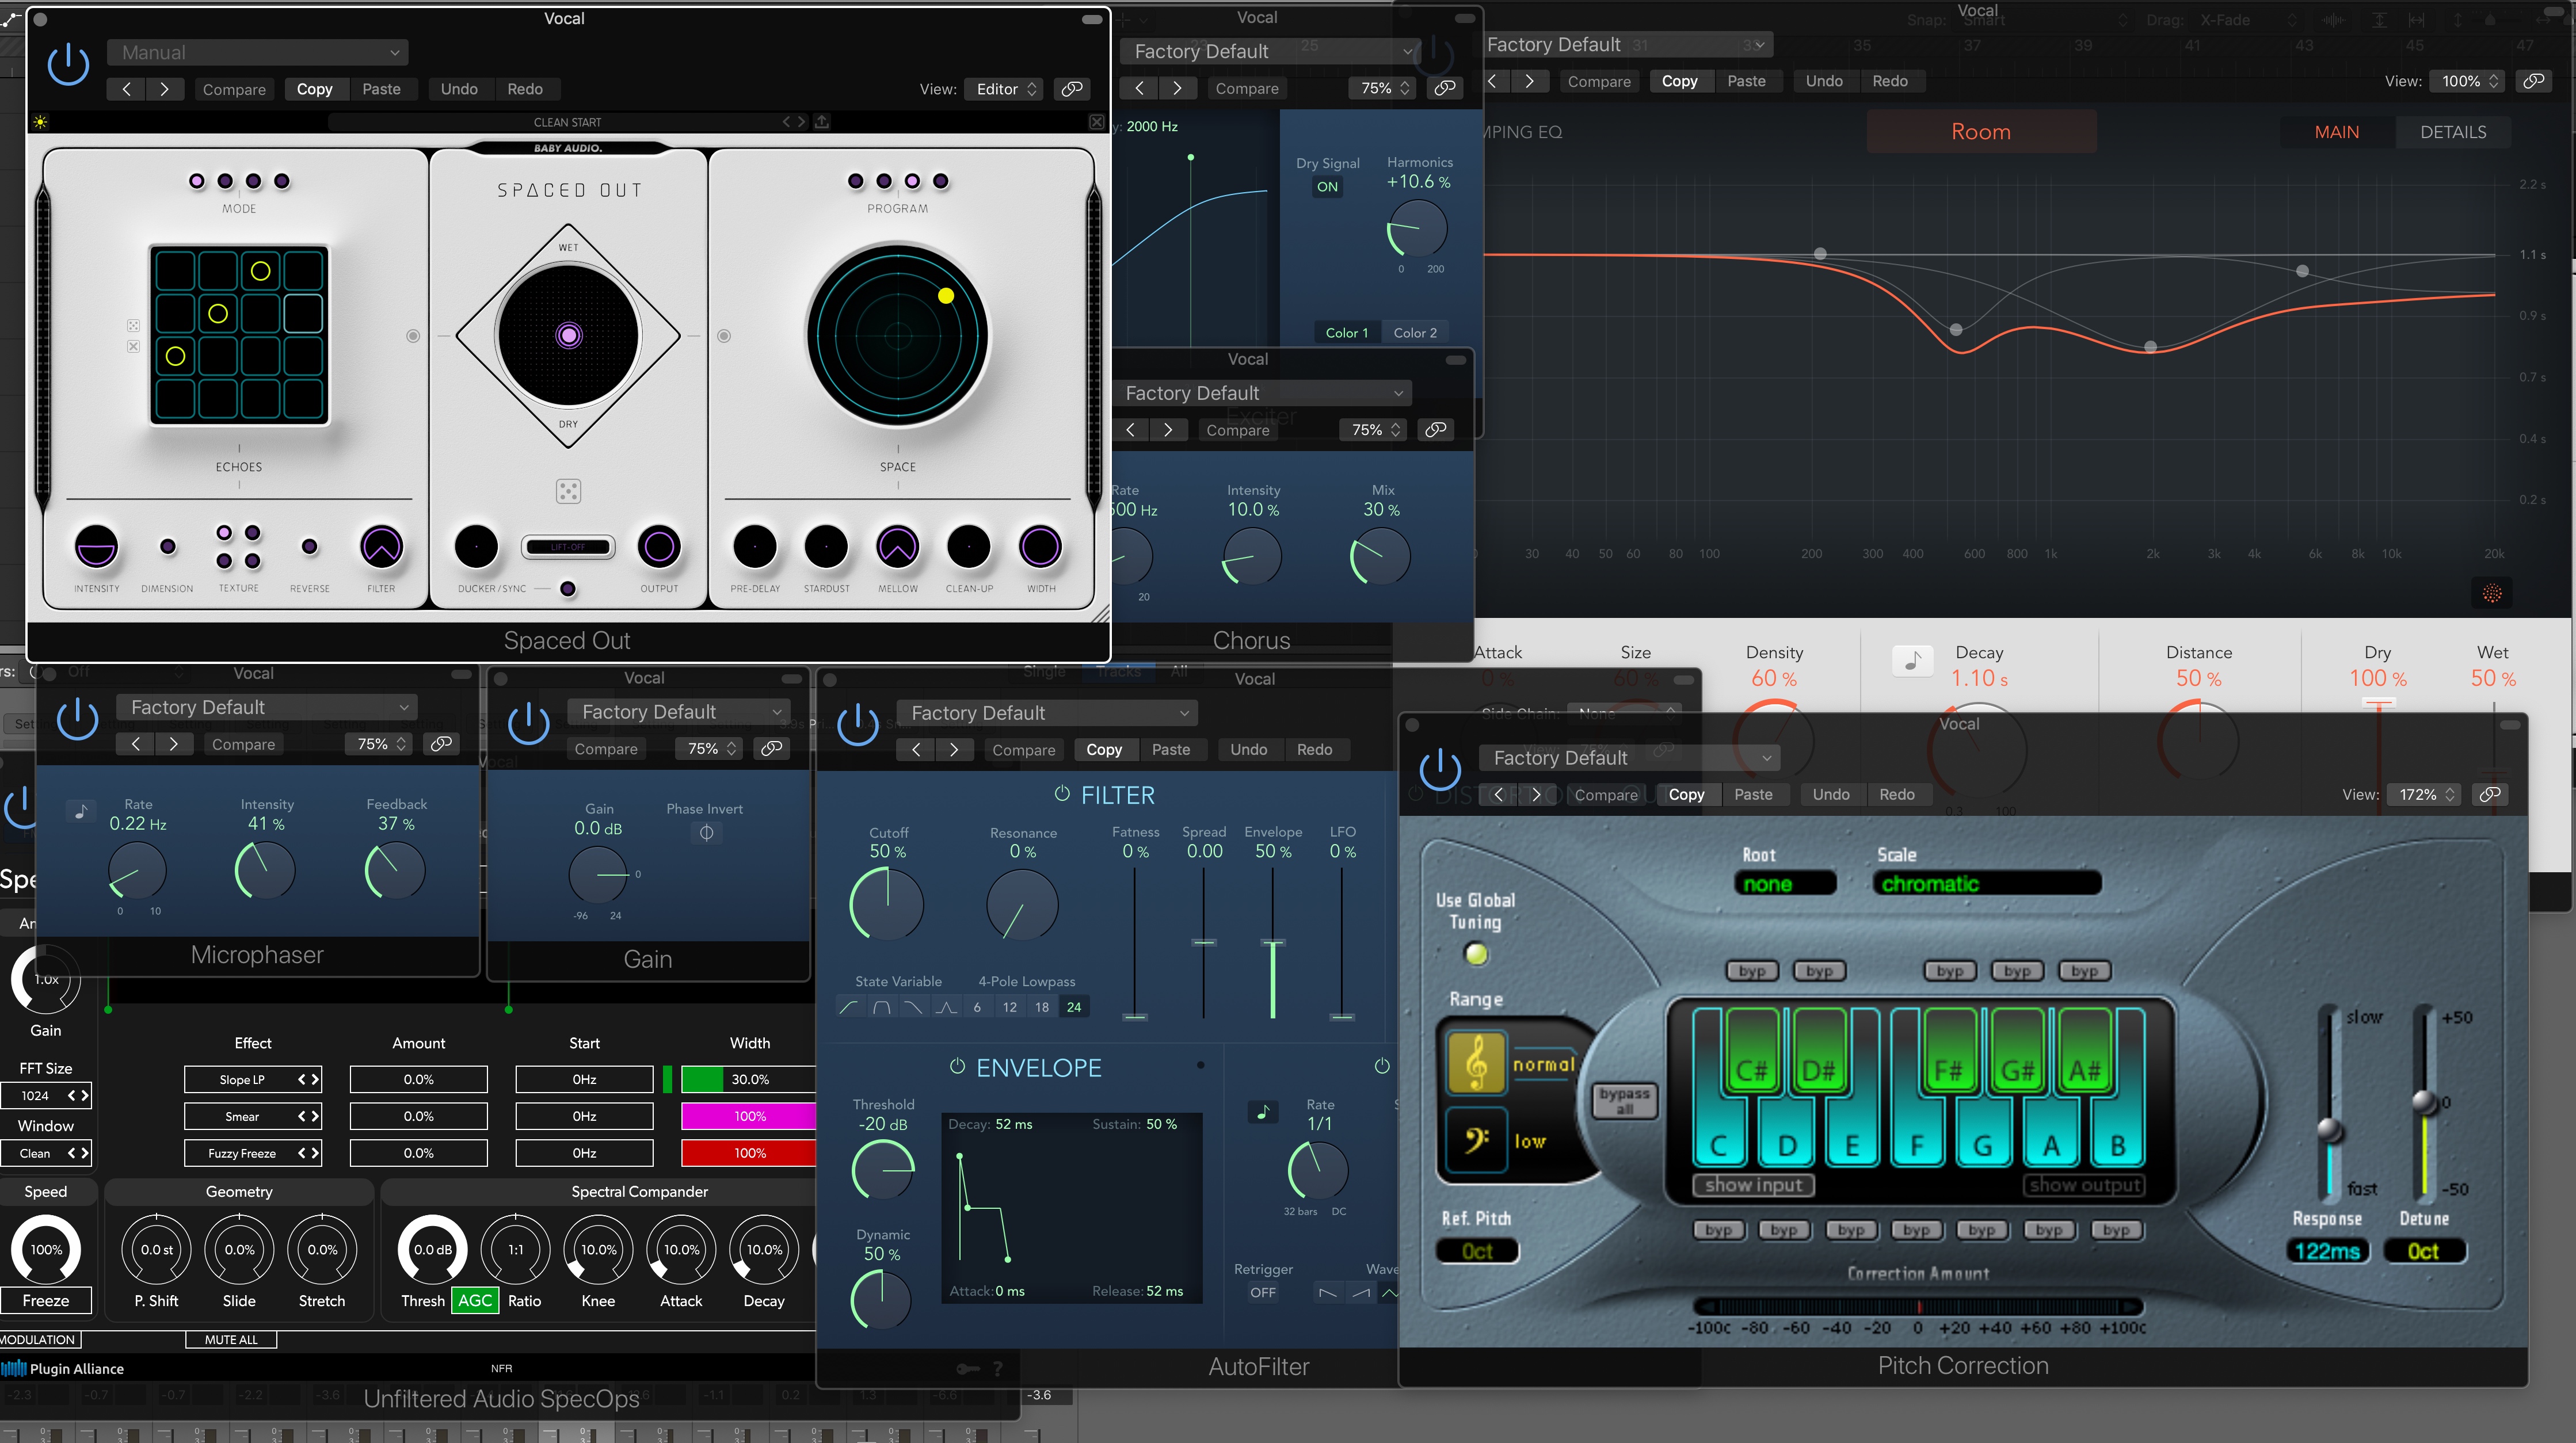
*Just because you have loads of plugins, it doesn't mean you have to use them all!
